
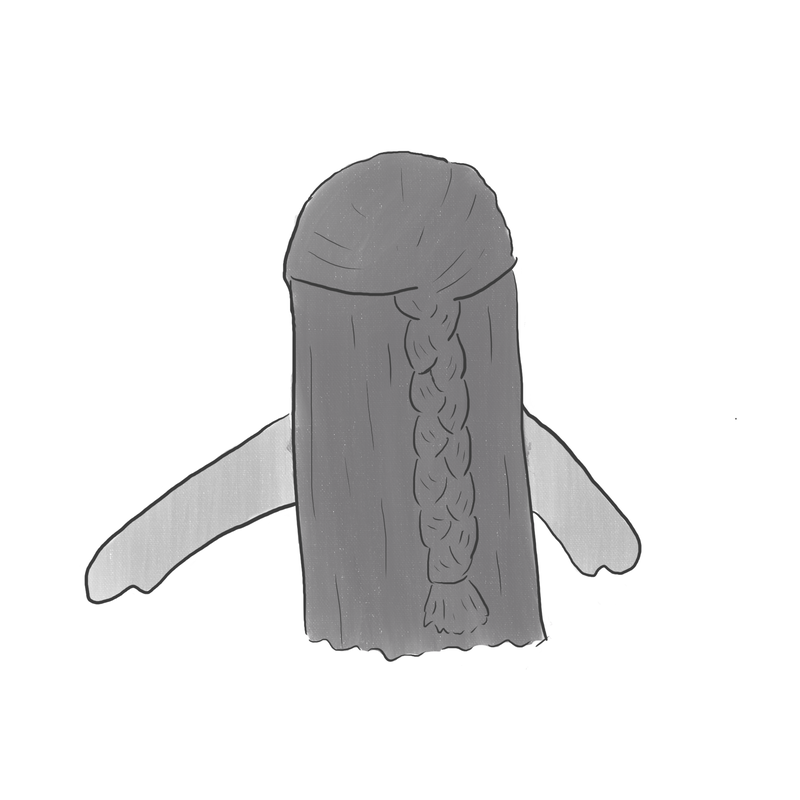
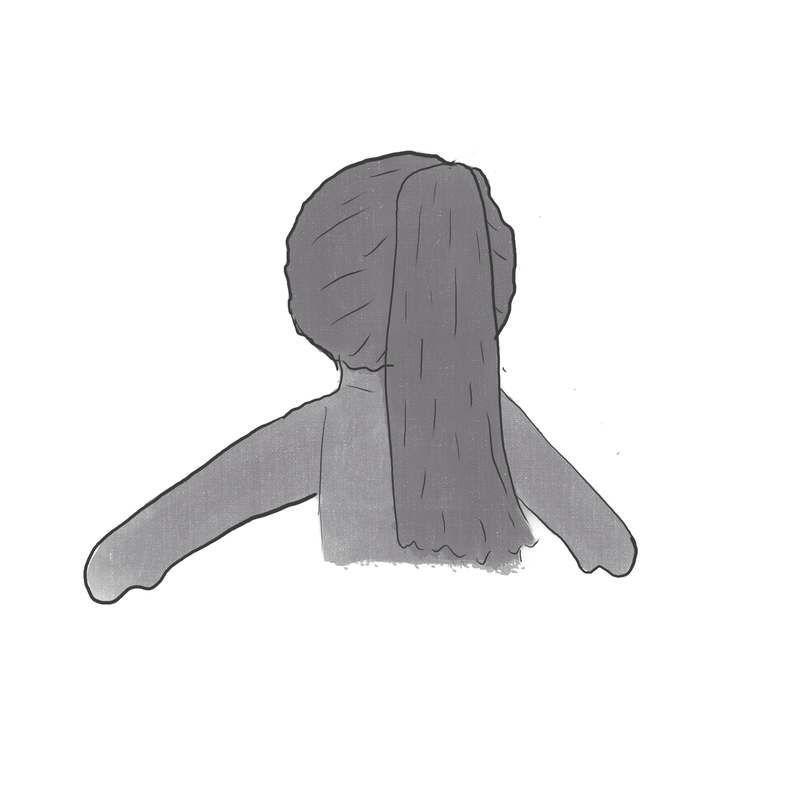
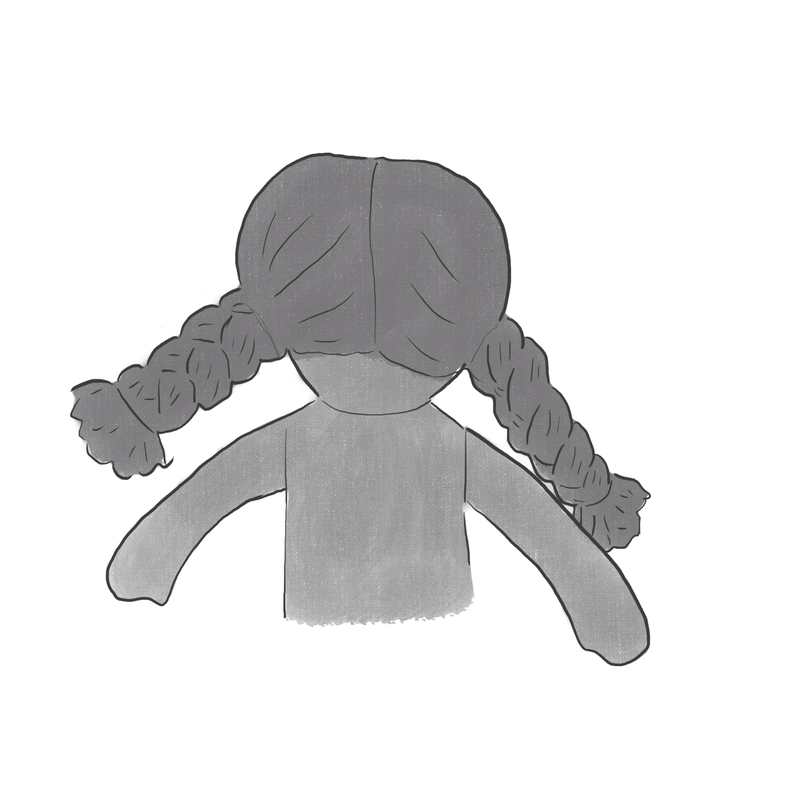
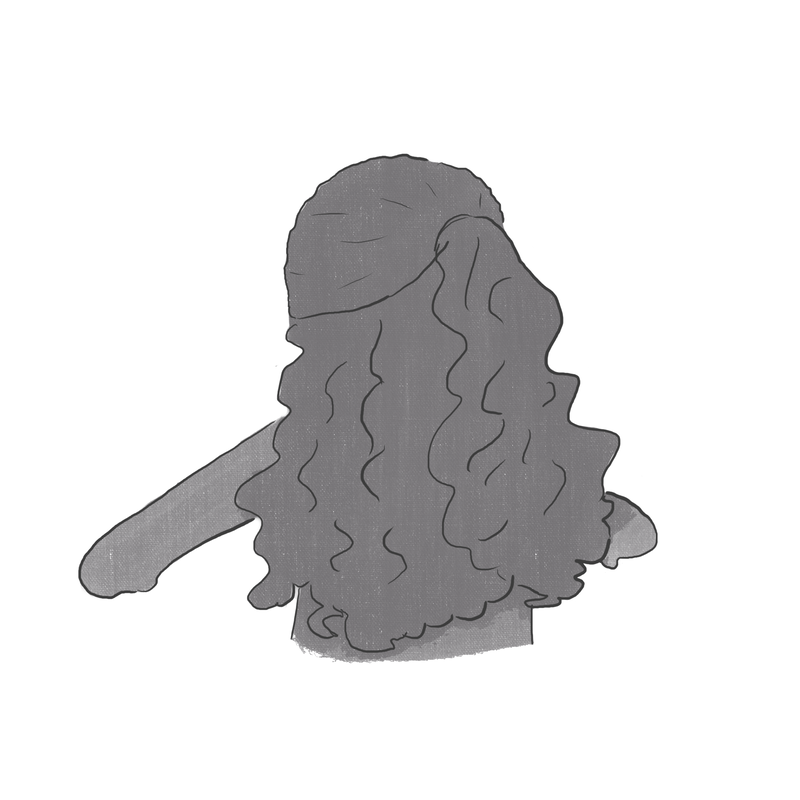
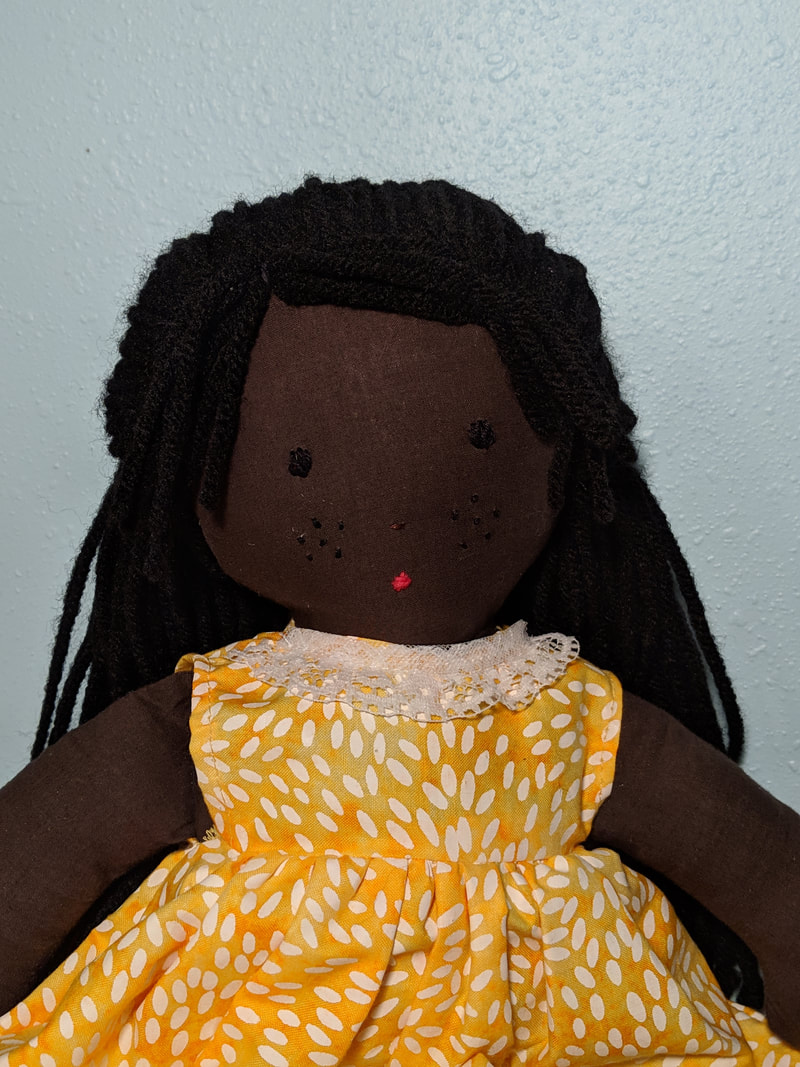
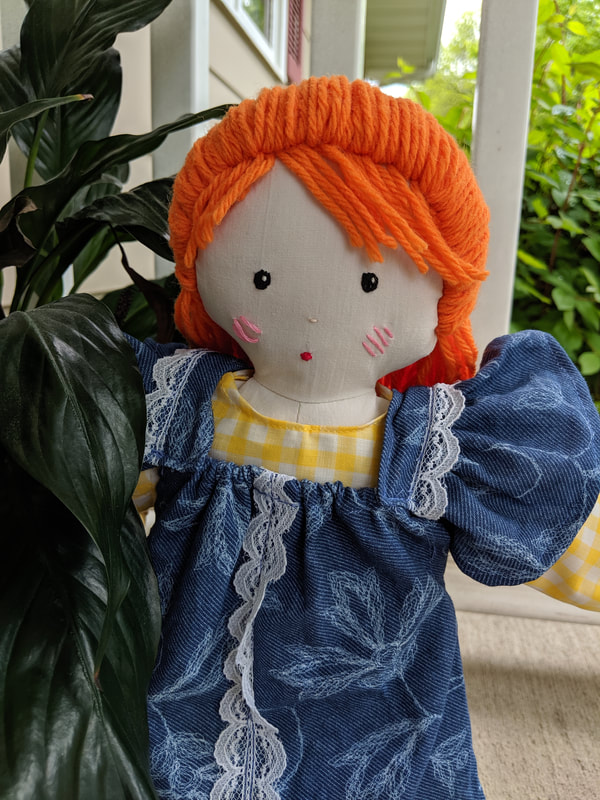
Hairstyles are a perfect way to add personality to your doll design. Learning how to do several styles or invent your own style will help you in your doll design process. I’m going to share the process I use to create my doll hairstyles, but note that this is not the only right way by any means. Experiment and find what works well for you if you’d like! My process is broken down into 5 steps, which I’ve included in my first post about doll hair. That post covers basic pigtails, and the steps here are pretty much the same except that I include how to determine where your part will be. I’ll go over it again, but to have it pigtails in more detail, check out that post here. design the partThe first thing you’ll need to do is determine where you want the part of your doll hair. I’ve included a few sketches to help you think of some options!
Bang ideas:
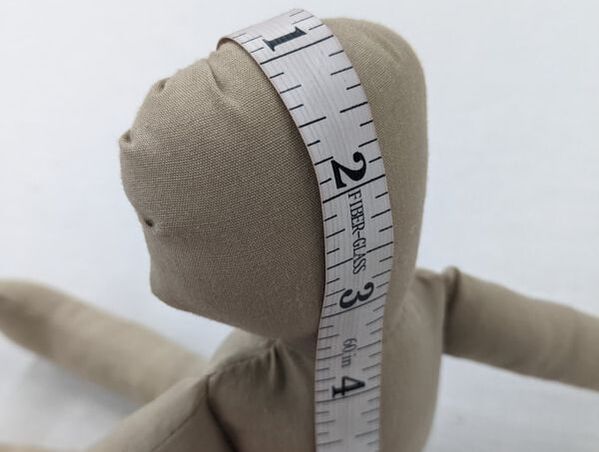
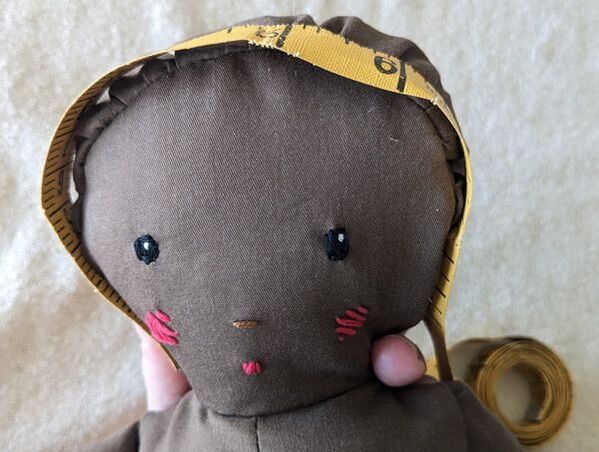
Sketch out your hairstyle, marking where you want the part to be. measuring
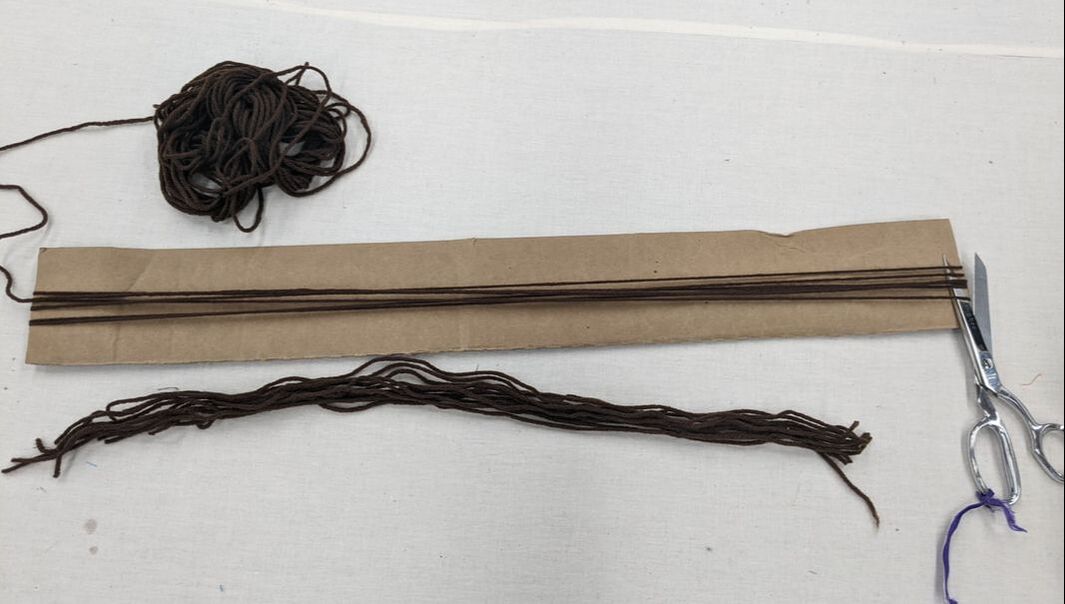
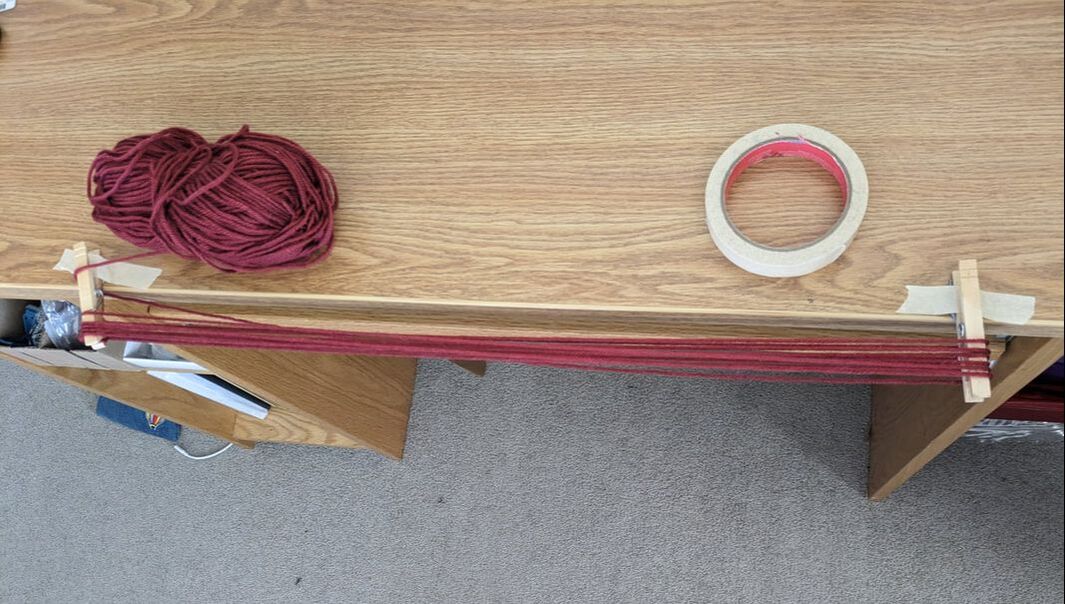
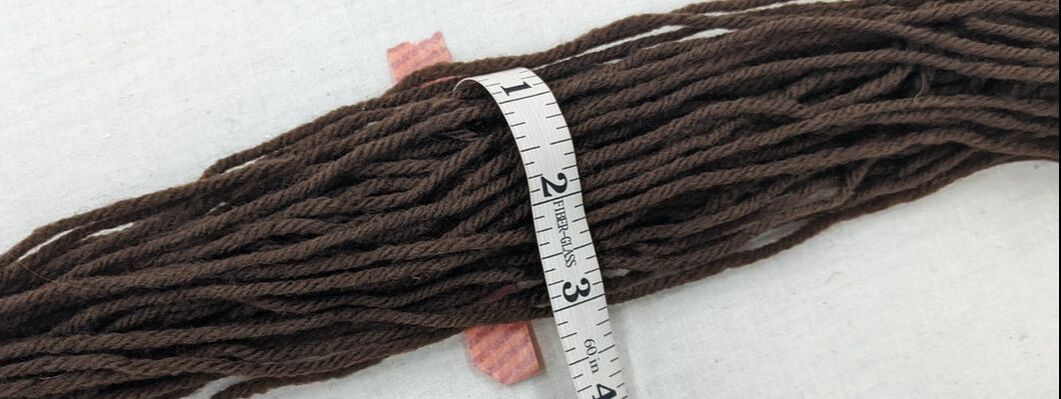
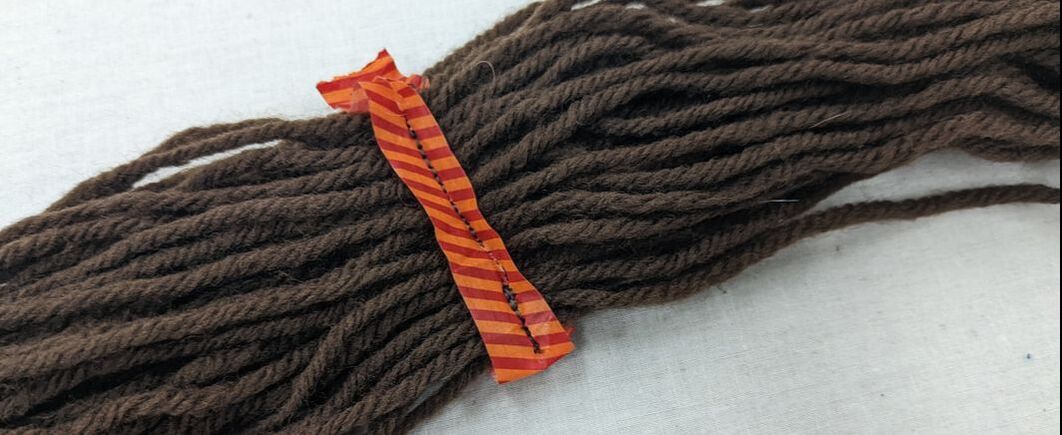
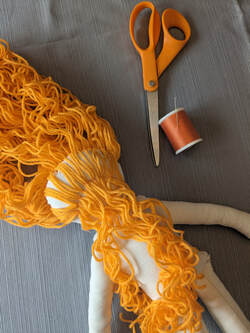
cutting
sewing
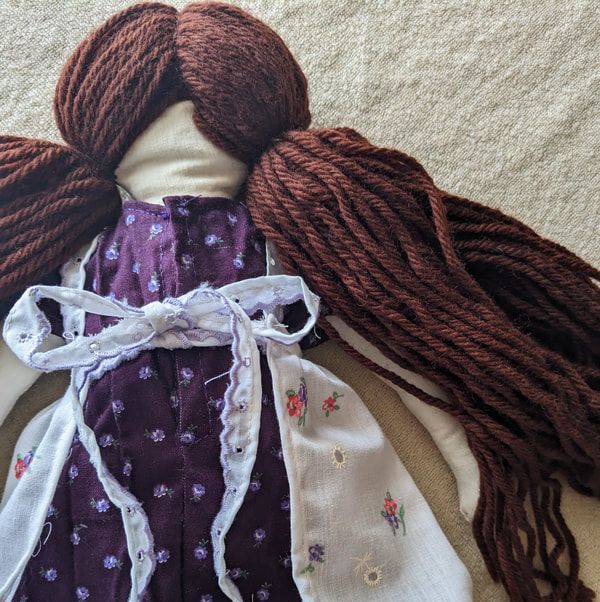
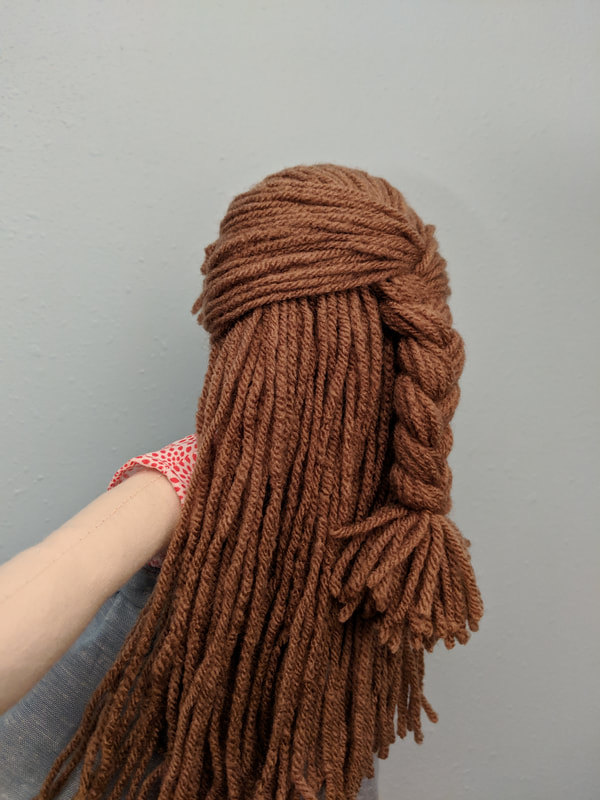
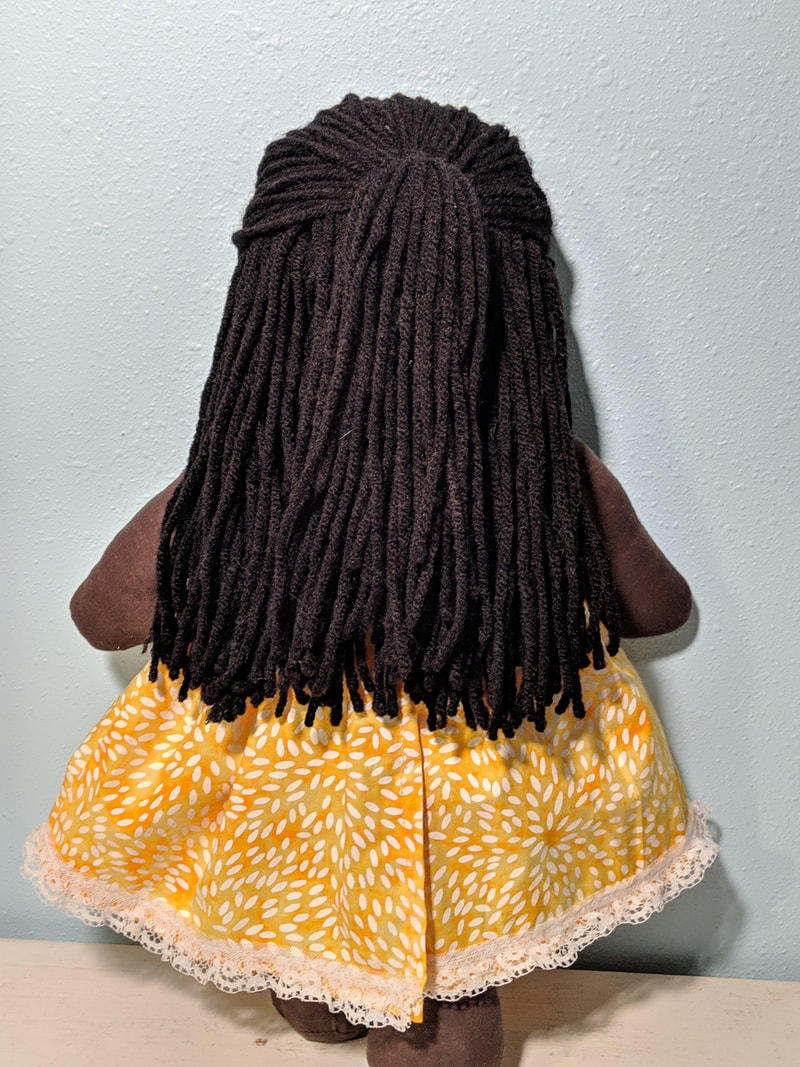
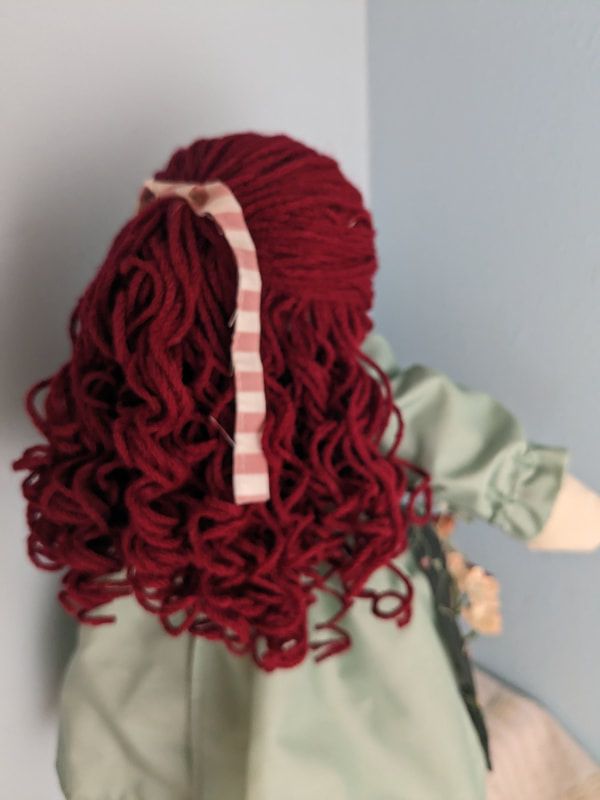
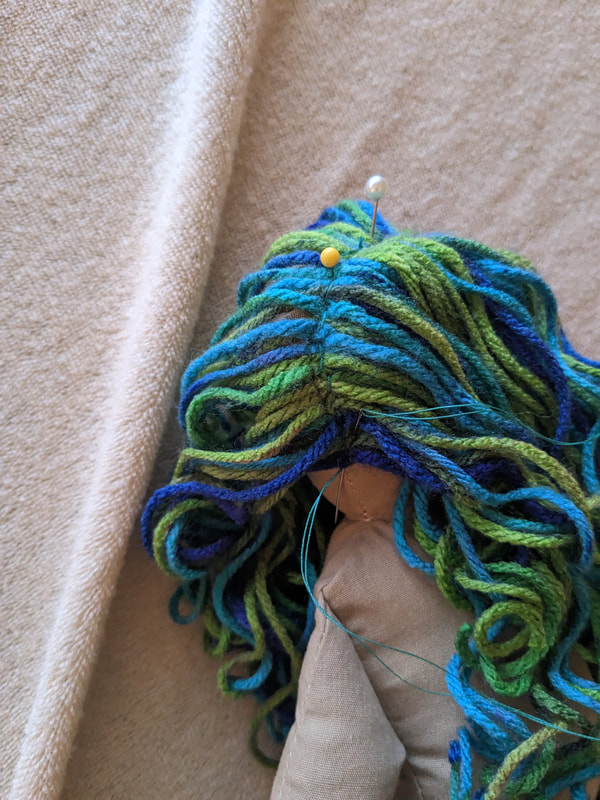
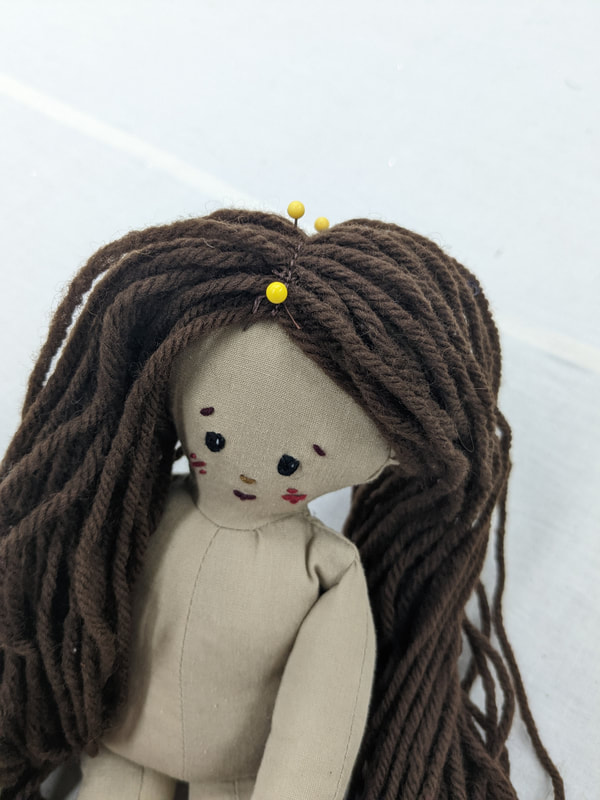
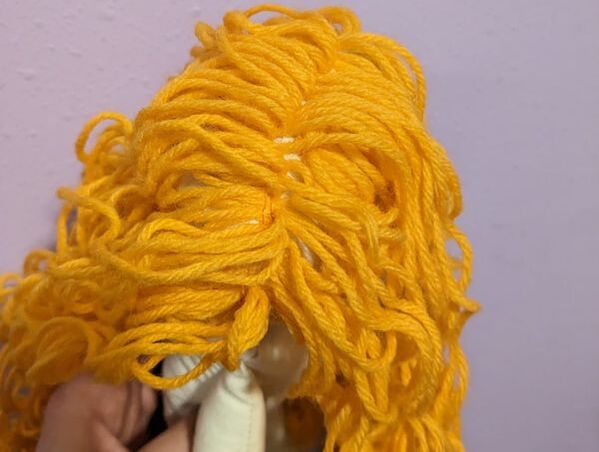
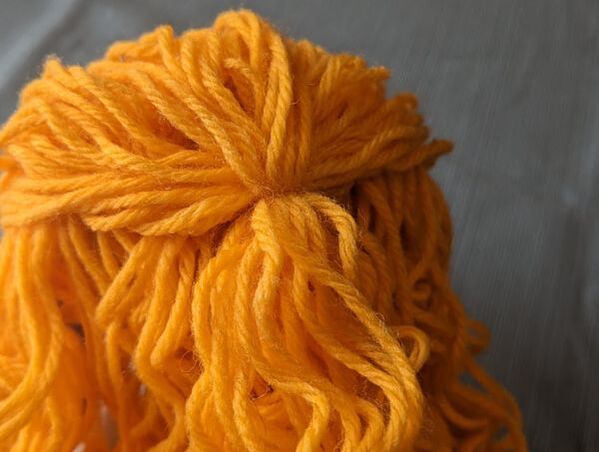
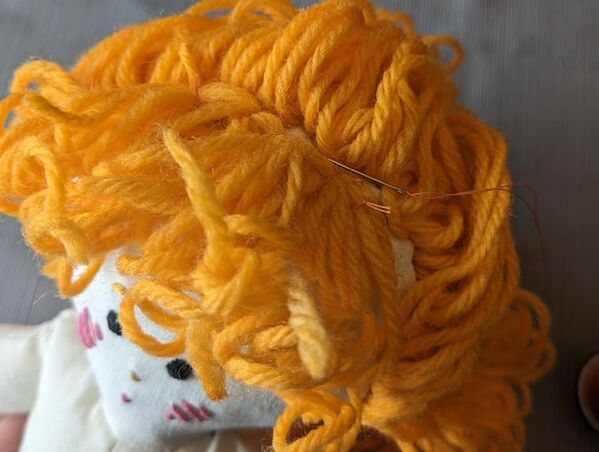
attachingNow you can take your hair pieces and pin them to your doll head. Leave the part open while you pin and sew over it, even if it will eventually all fold the same direction, like the half up hair and ponytail.
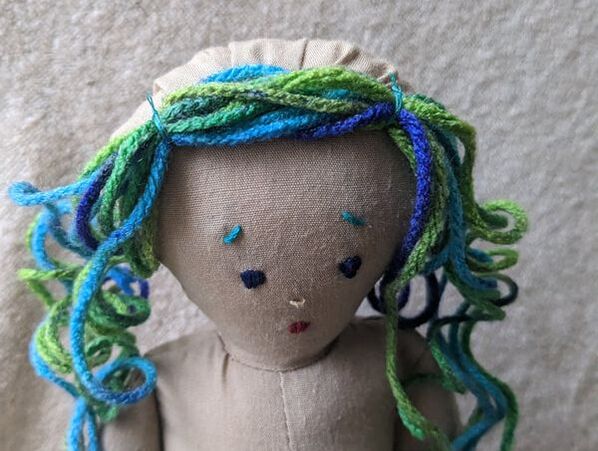
Once your hair is stitched in place, you can trim it to even everything out, and your hair is complete!
0 Comments
Leave a Reply. |
Need a doll pattern? Check out this one!
Latest pattern: doll apron and pattern
more tutorials... |
 RSS Feed
