
|
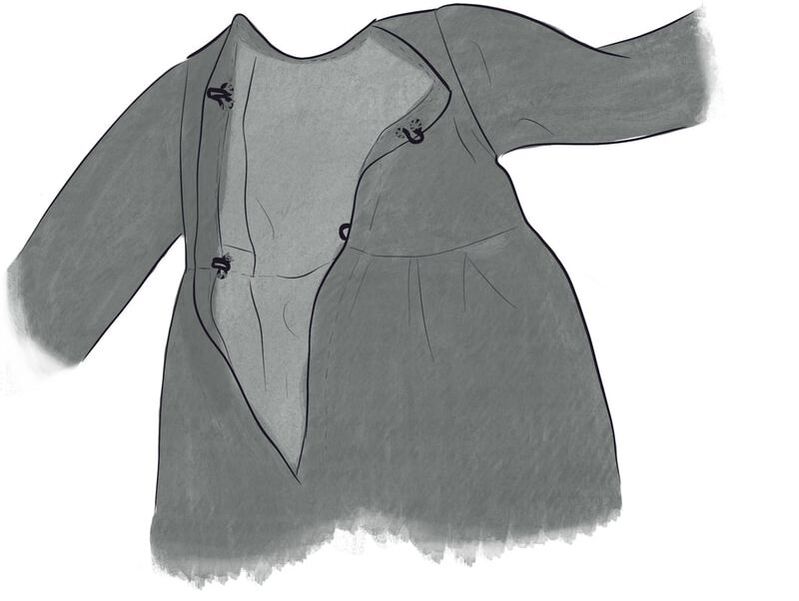
Once you have your doll outfit made to your liking, the final detail is in the closure. You can add closures in a variety of methods depending on your goal for the doll outfit. Here are my recommendations with the different closure methods explained.
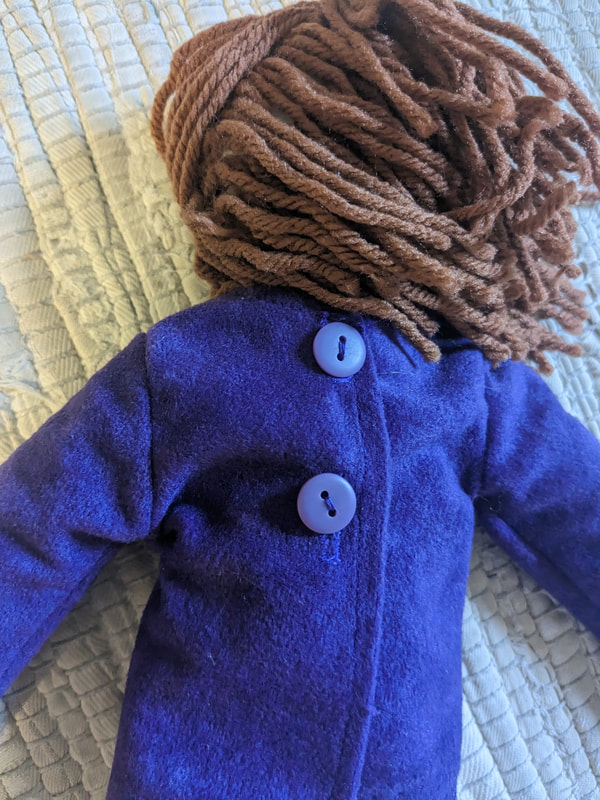
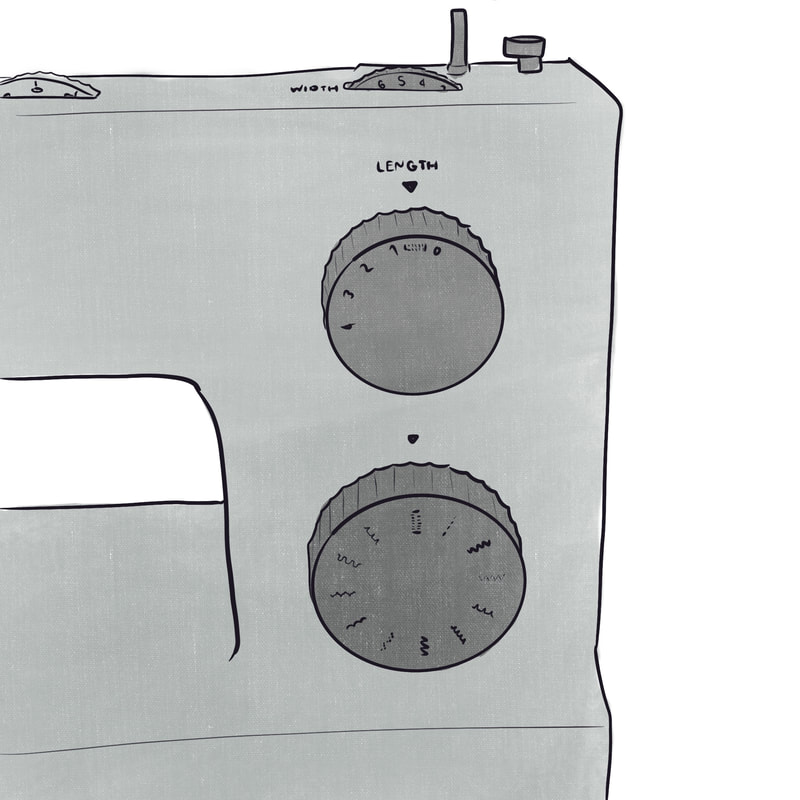
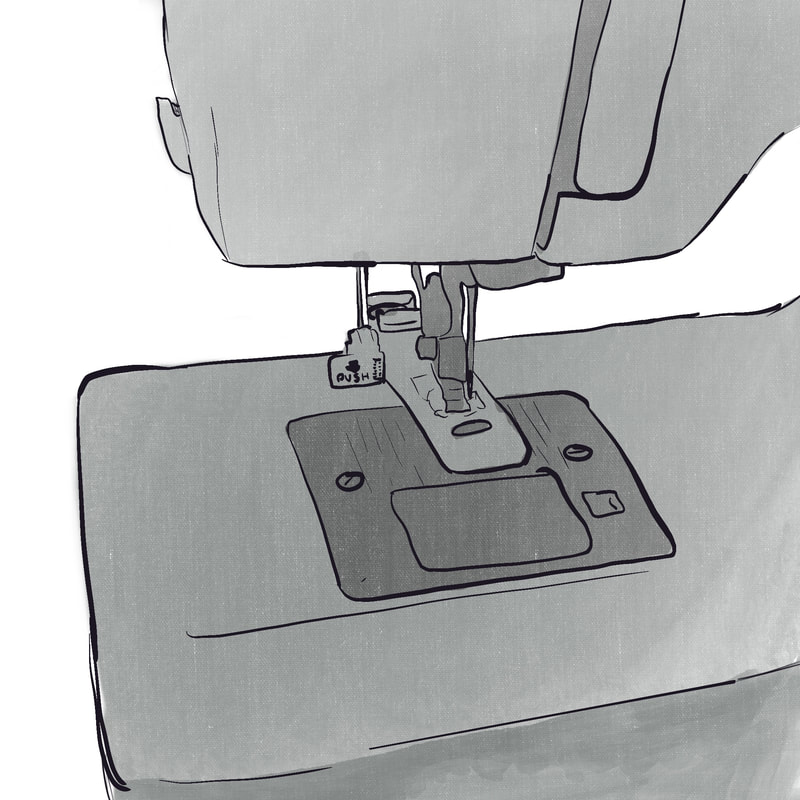
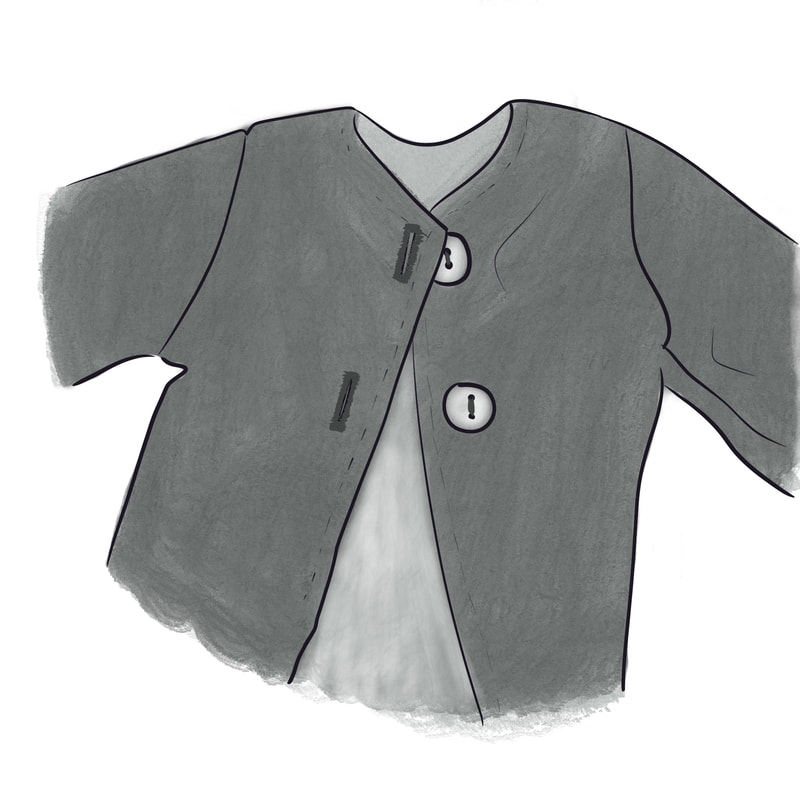
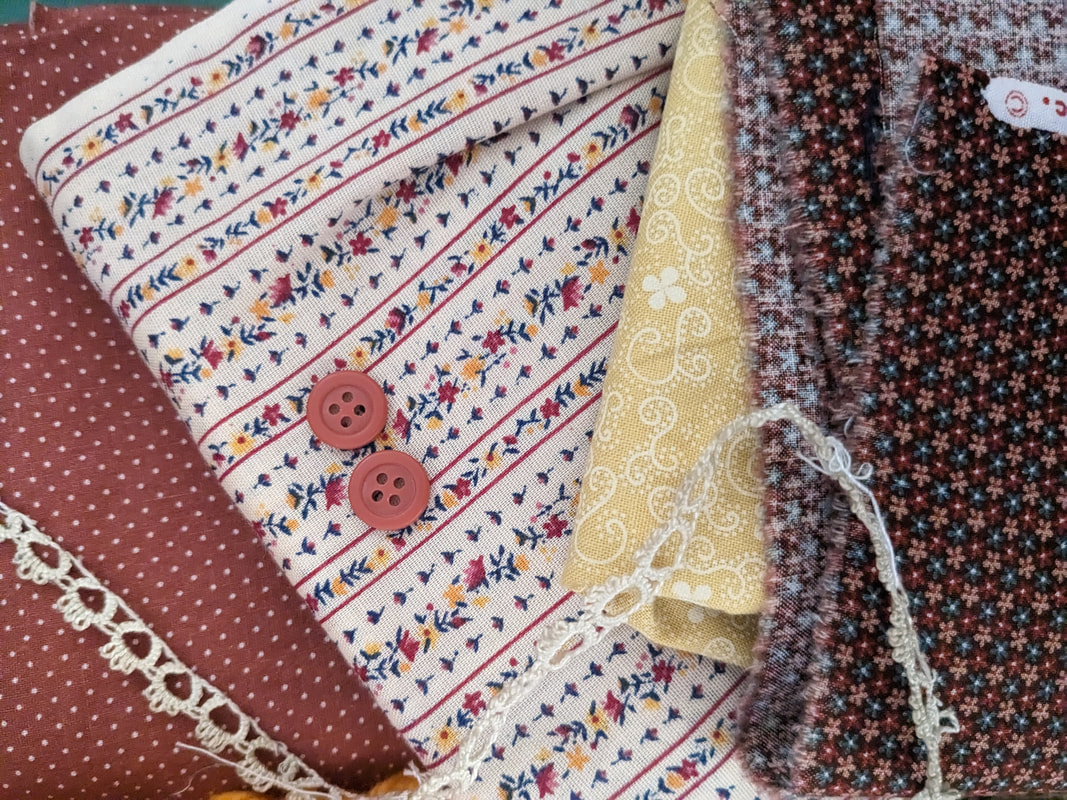
To add a buttonhole and button to your doll, first pick out your buttons. Typically, I use 1/2 inch buttons, as they fit best on doll clothes. Then you’ll mark where you want the hole to be, typically best to be around ¼ inch from the edge of the garment. If you are doing multiple buttons, it’s best to measure and mark them beforehand so they are evenly spaced out. Then add the button attachment foot to your sewing machine, put your button into the foot to get the size correct, and follow the specific instructions for your machine. Most machines have a separate stitch setting for button holes and a little marker that pulls down near the foot and snaps back. You’ll also have to make sure the stitch width setting is at or close to the max. Once all your settings are correct, just start sewing. It’s always wise to start with a scrap piece of your fabric or a fabric of similar weight, especially if you are new to buttonhole making. When you start sewing, let the machine pull the fabric as it wants, and give it a light guidance to keep it straight. Once your machine gets back to the beginning, you're done! Just use a seam ripper to open the button hole and hand sew your button on the opposite side, and this closure method is complete. velcroMany people prefer velcro as a doll outfit closure method, as it is very simple to attach, and it is also very easy for young kids to use. Personally, I avoid velcro, as it often catches on the doll’s hair, or collects stray fabric fibers, pet hair, or virtually anything loose it touches. I also find velcro less stylistic, as it seems out of place on historical or vintage dolls. Even on modern dolls, I prefer methods that mimic human outfits, they seem more classy. But, velcro is a method that can be used for doll clothes, so this is how you can use velcro: Cut your pieces or velcro. If you’ve got a stick on, just peel off the back and stick them on the edges of the outfit, ensuring they will overlap correctly when the outfit is on the doll. It’s probably wise to enforce them with stitching around all edges. For regular velcro, pin it in place first and sew around each edge in a thread color that matches your fabric. snaps
*Easy clamp-on snaps are a thing if you want to avoid hand sewing, but the ones I’ve used in the past are too big to fit nicely on doll clothes, and I haven’t explored smaller options for doll clothing. hook & eyes
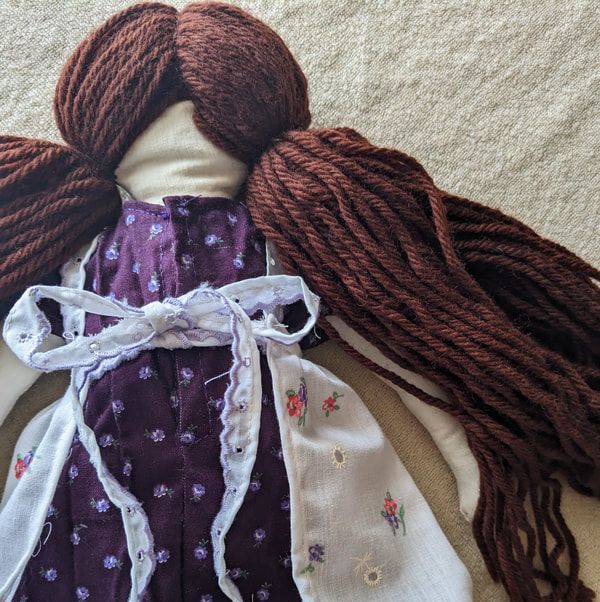
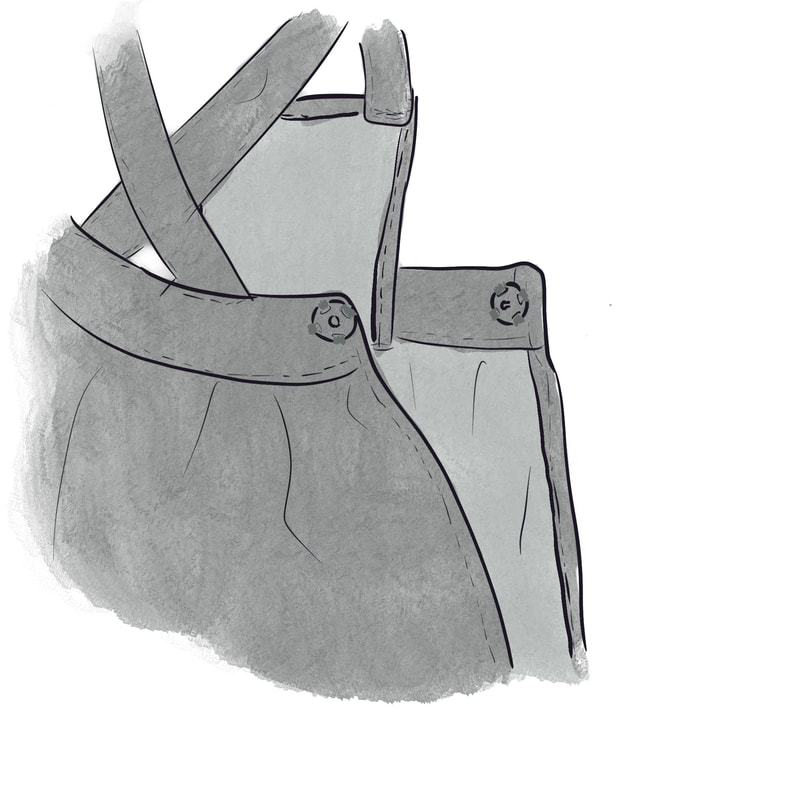
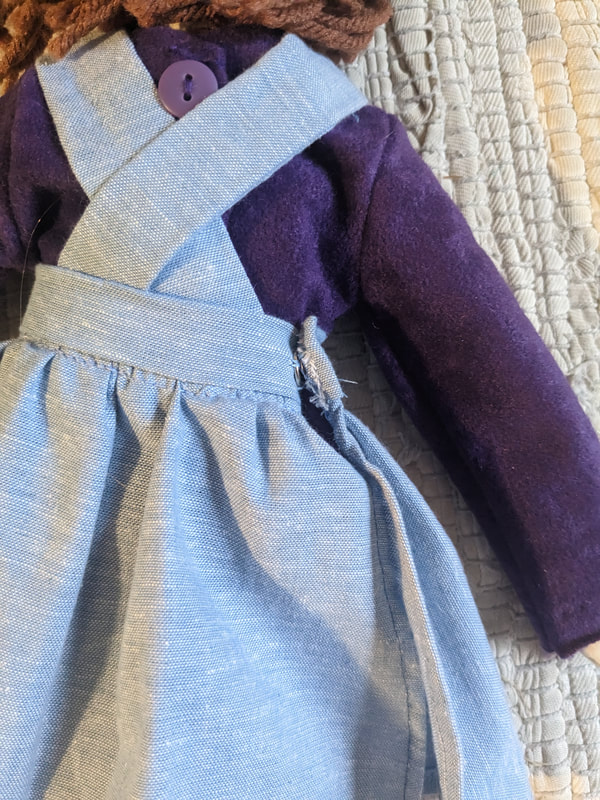
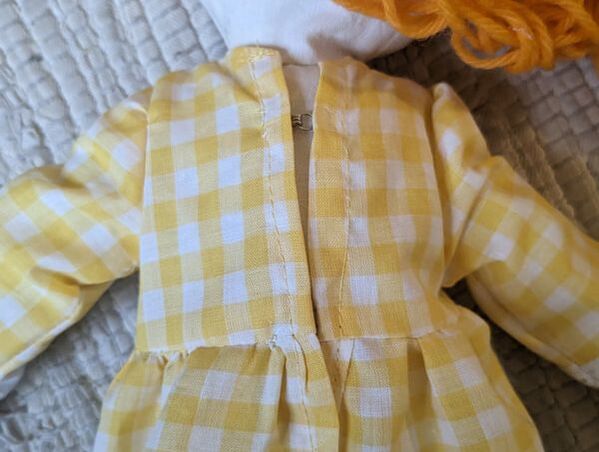
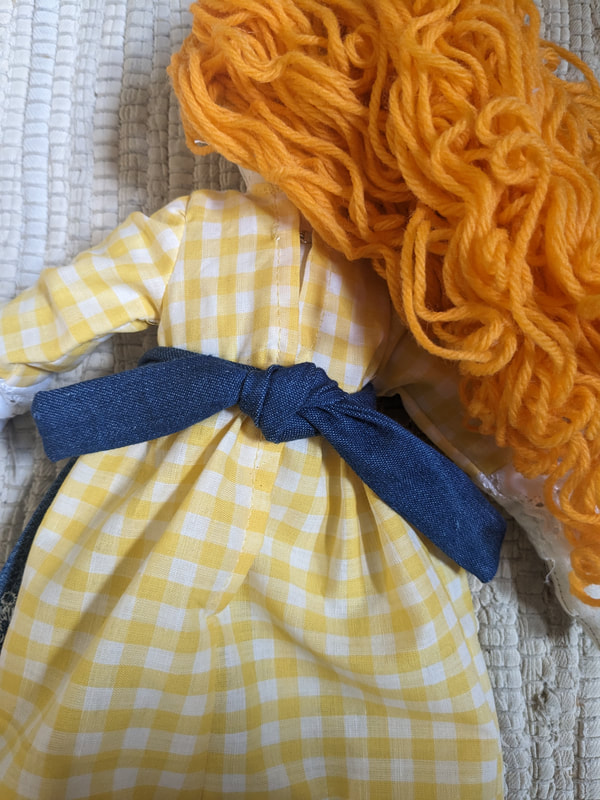
Hook and eyes are probably not a preferable closure method for younger children, as they are a bit tricky to use. But, they can give you a little extra room if your doll’s outfit is a bit too tight, as an overlap is not necessarily needed with this closure type. This would be pretty much the only time I use hooks and eyes personally, but it’s a nice little trick to know about if your outfits ever run a bit small! Take the eye, and hand sew it on so it barely pokes out from the edge of the garment. Wrap each loop of the eye securely by passing through the fabric and around the loop several times. Then, line up the hook on the edge of the fabric, or in a tad if you have room for an overlap. Sew on the hook in the same way. ties Many apron and pinafore patterns will come with ties in the pattern, but if you get one that doesn’t and you would prefer this closure method, it’s an easy thing to add. Just take two long strips of fabric, hem them or fold them in half, sew them, and turn them inside out. Then, attach one at each side of your apron or pinafore. Ribbon or lace can be used as well, as long as they are types that will tie and untie easily.
These are the closure methods I use for my doll clothes, comment and let me know if they’re helpful or if you use any others.
Happy doll making!
0 Comments
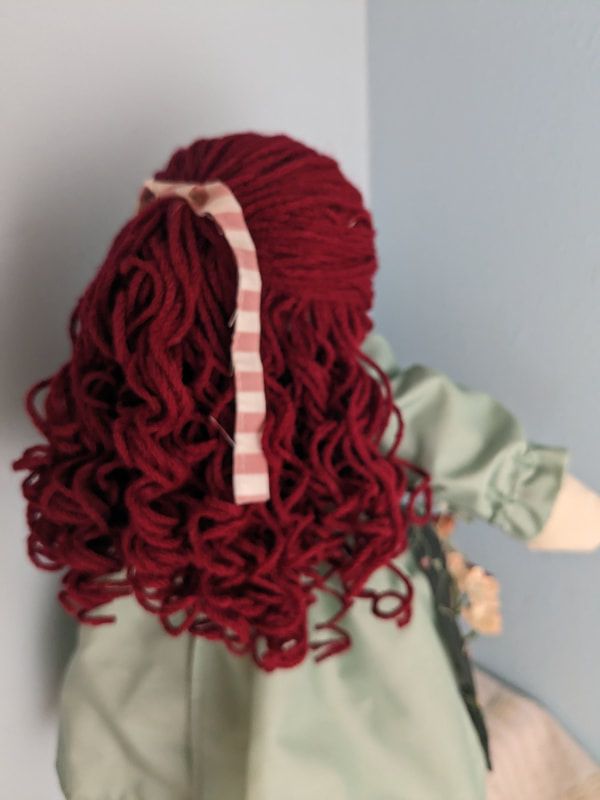
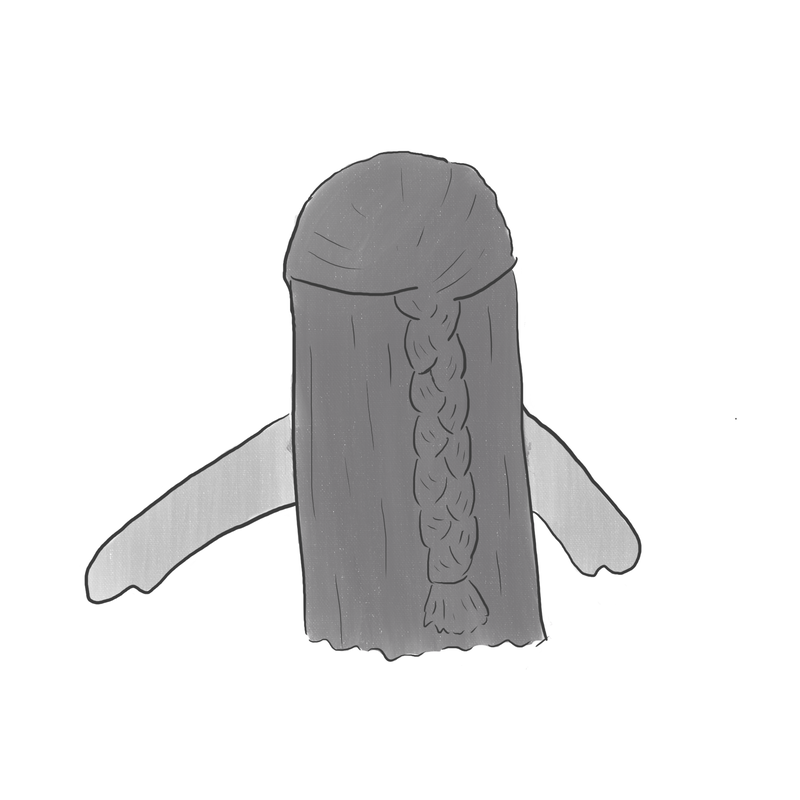
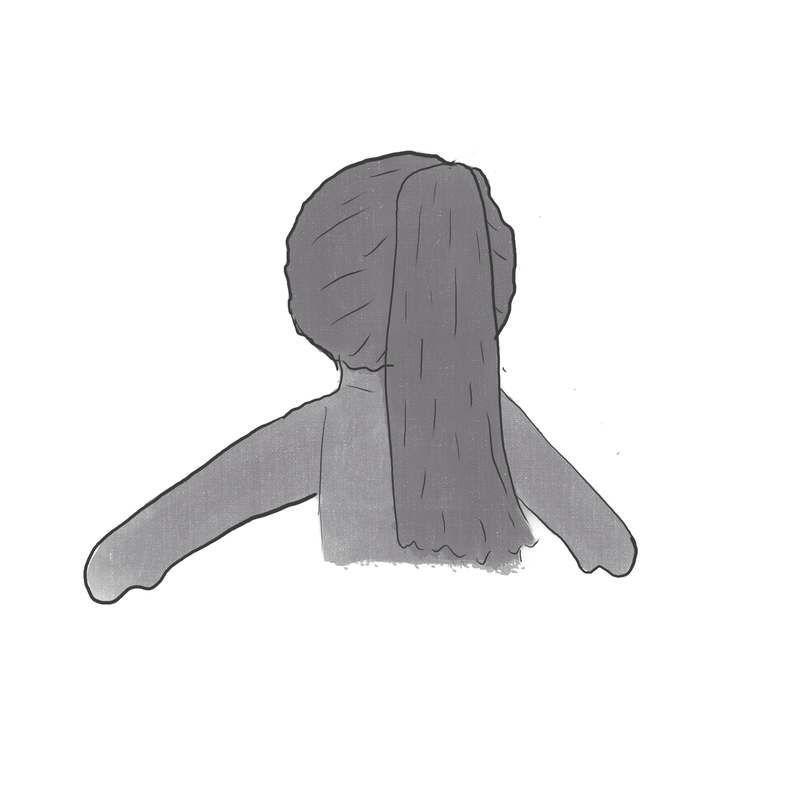
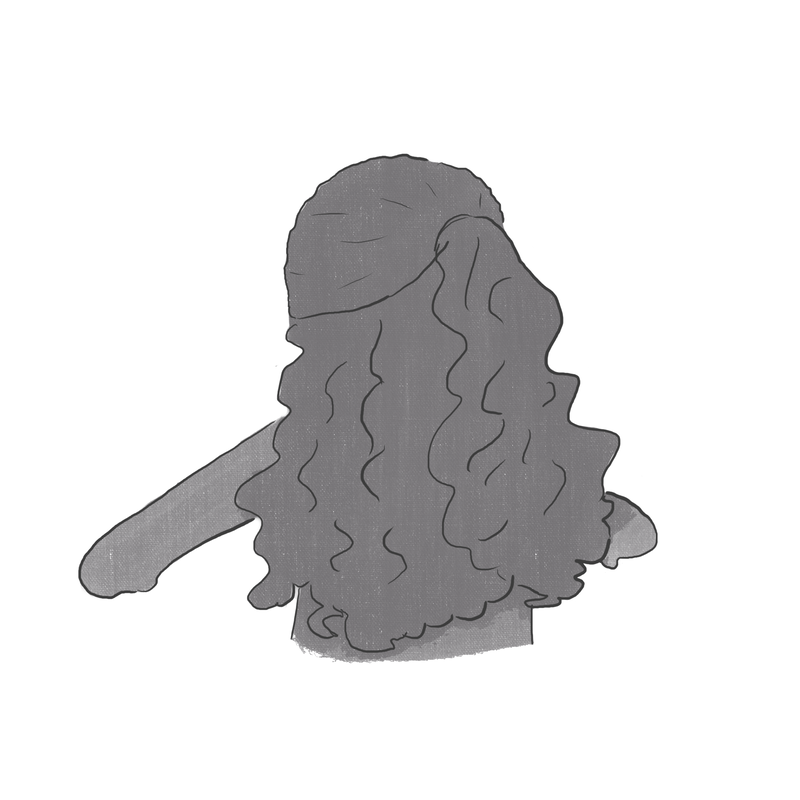
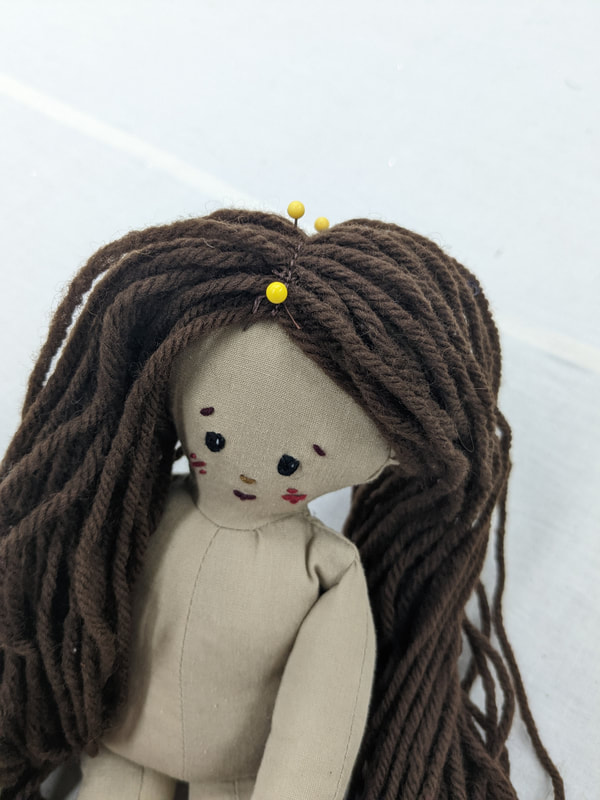
Hairstyles are a perfect way to add personality to your doll design. Learning how to do several styles or invent your own style will help you in your doll design process. I’m going to share the process I use to create my doll hairstyles, but note that this is not the only right way by any means. Experiment and find what works well for you if you’d like! My process is broken down into 5 steps, which I’ve included in my first post about doll hair. That post covers basic pigtails, and the steps here are pretty much the same except that I include how to determine where your part will be. I’ll go over it again, but to have it pigtails in more detail, check out that post here. design the partThe first thing you’ll need to do is determine where you want the part of your doll hair. I’ve included a few sketches to help you think of some options!
Bang ideas:
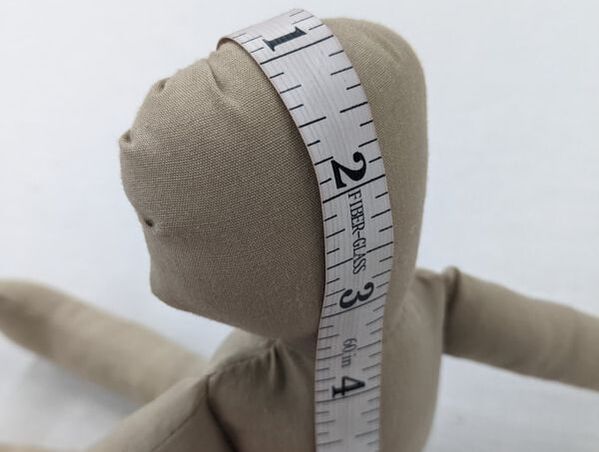
Sketch out your hairstyle, marking where you want the part to be. measuring
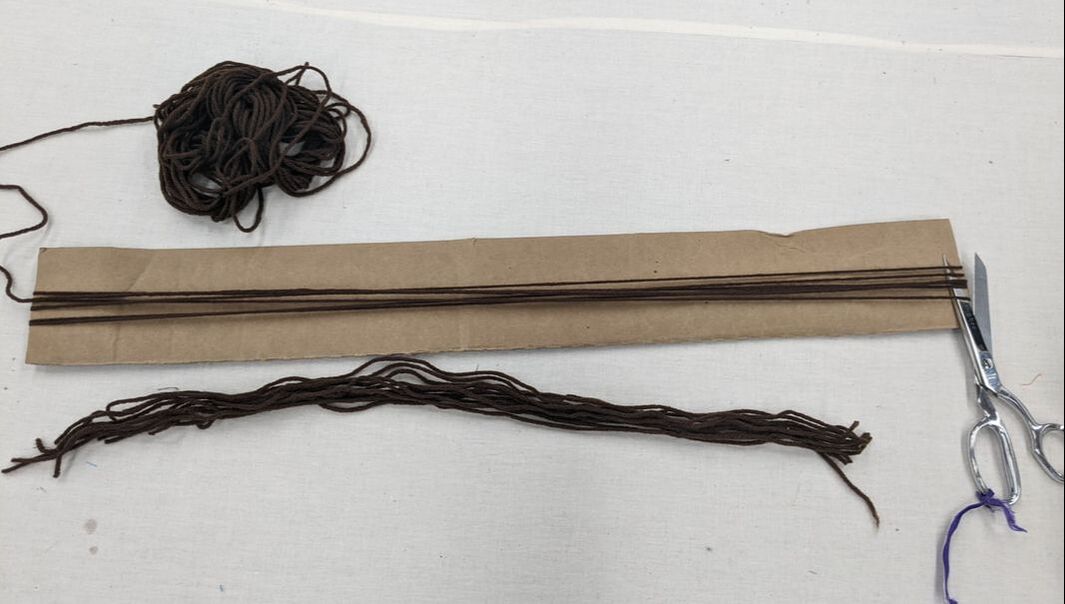
cutting
sewing
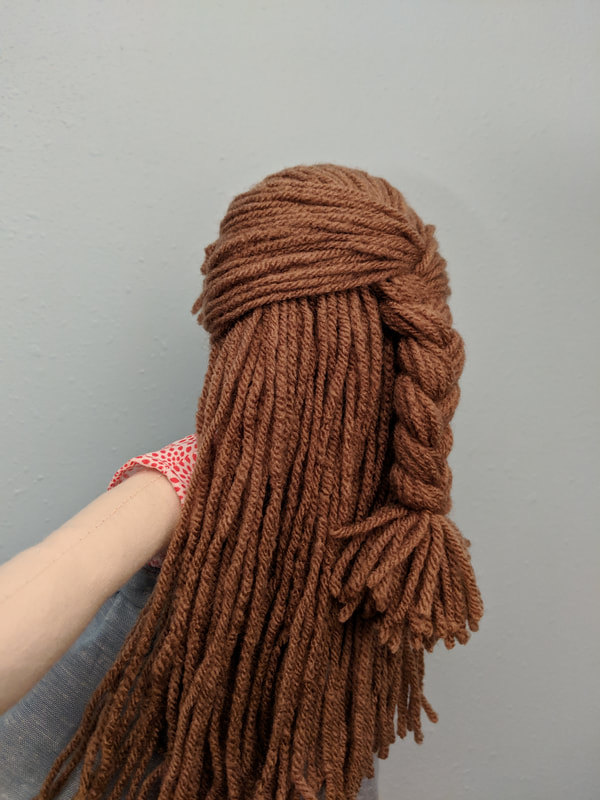
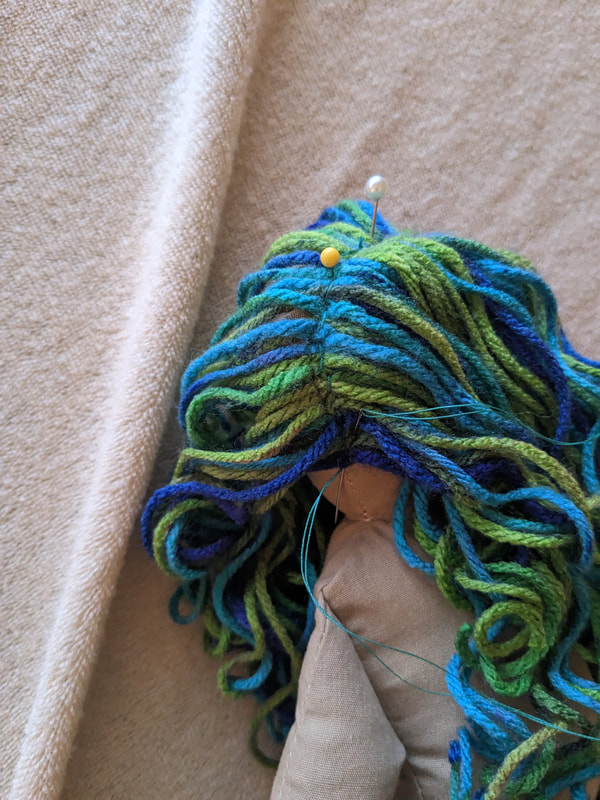
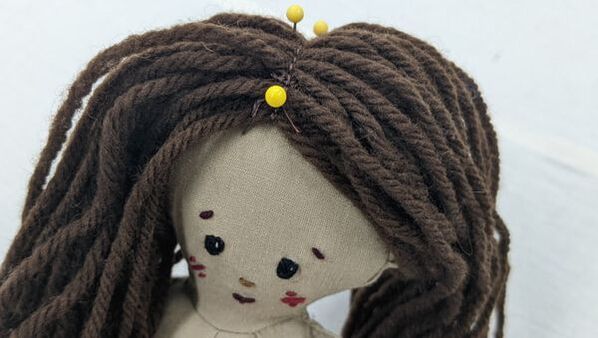
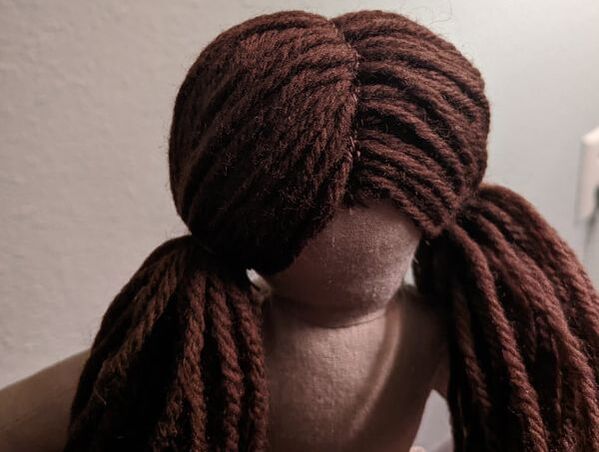
attachingNow you can take your hair pieces and pin them to your doll head. Leave the part open while you pin and sew over it, even if it will eventually all fold the same direction, like the half up hair and ponytail.
Once your hair is stitched in place, you can trim it to even everything out, and your hair is complete!
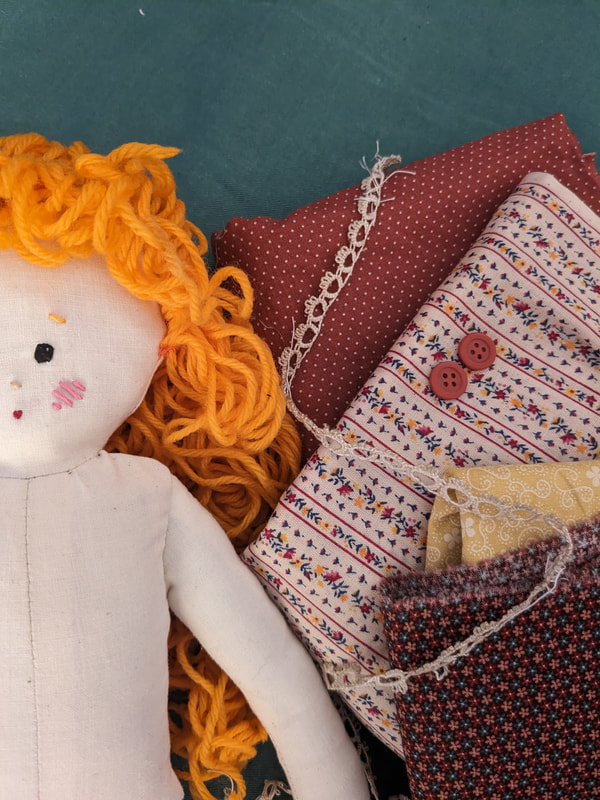
Adding the hair is often the final step to creating a doll. And this can be an intimidating step, as there is a bit of unfamiliar technique involved. But fear not, adding hair to your doll can be done in a manner that doesn’t cause you to rip your own out. ; )
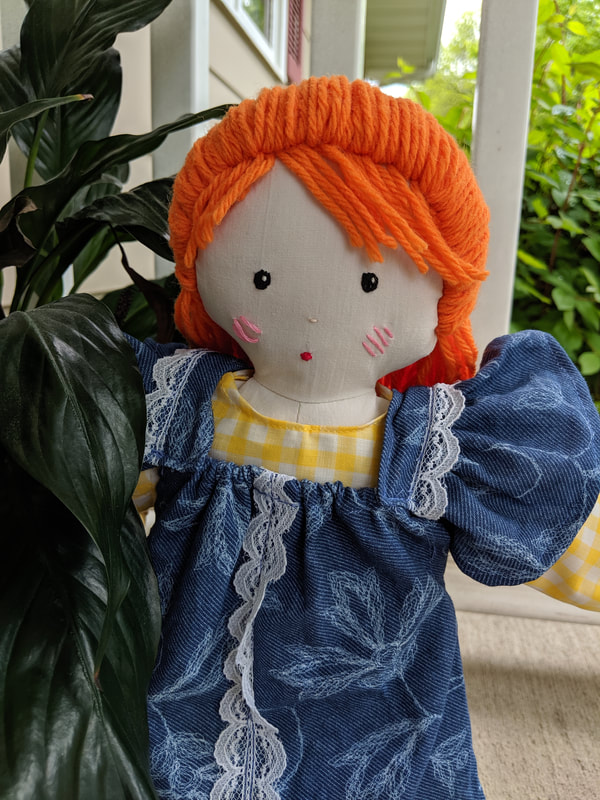
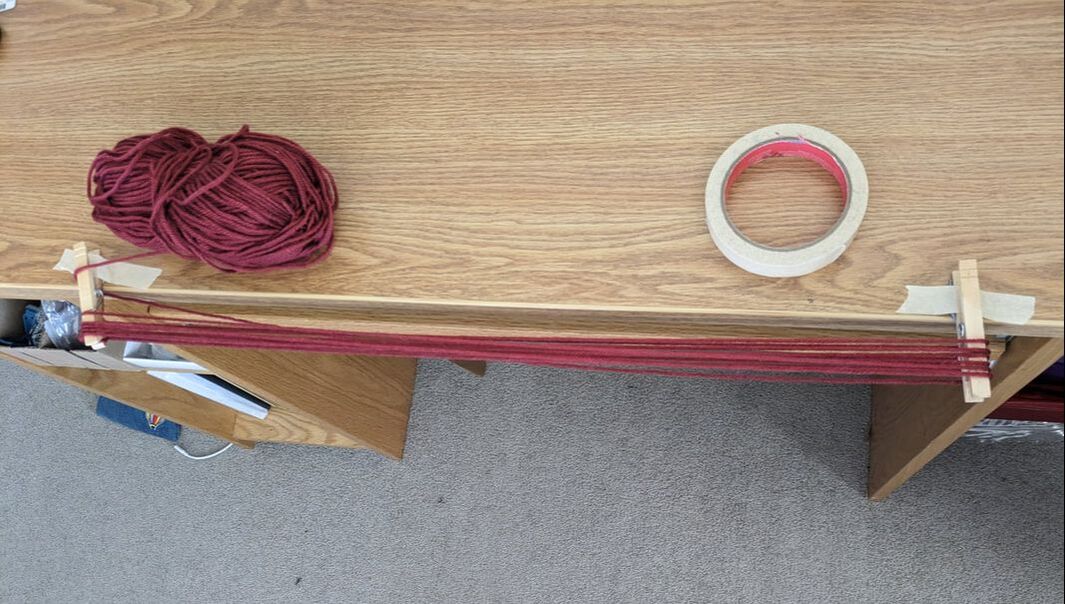
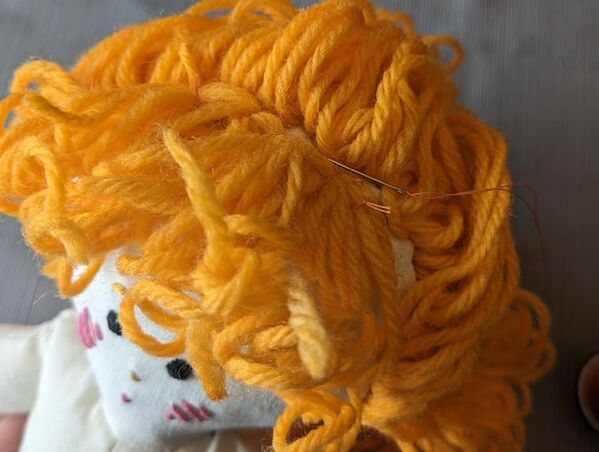
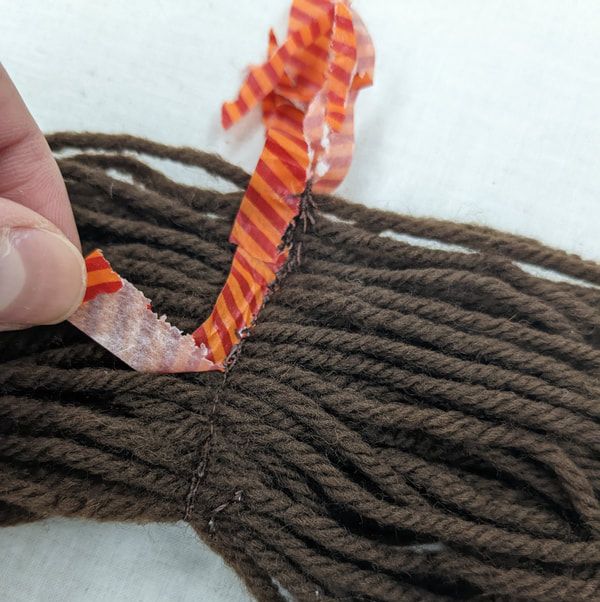
sewing the hairNext you need to attach all the hair in a center part. You can do this by taking a piece of tape face up, and placing your yarn over it, so that the halfway point is on the tape. (washi tape works well, as does masking) Then, keep your hair the width of your part, which you measured early. Keep layering yarn on top, and once you have as much as desired, place a long piece of tape across the top as well. 
This will secure it long enough for you to take it to your sewing machine, and sew right on top of that tape. Keep this seem even and pick thread to match the hair, as it will be visible on the finished doll. Once you’ve stitched everything together, you can begin to peel the tape away. This may take a bit of patience. attaching the hair
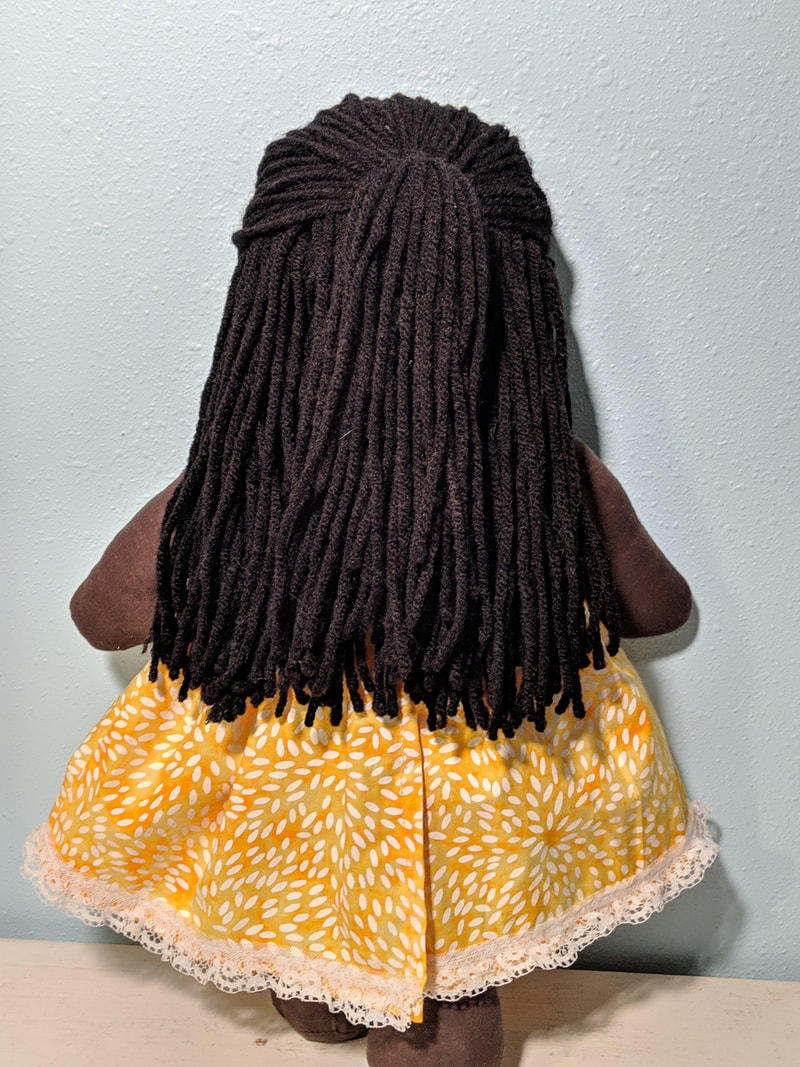
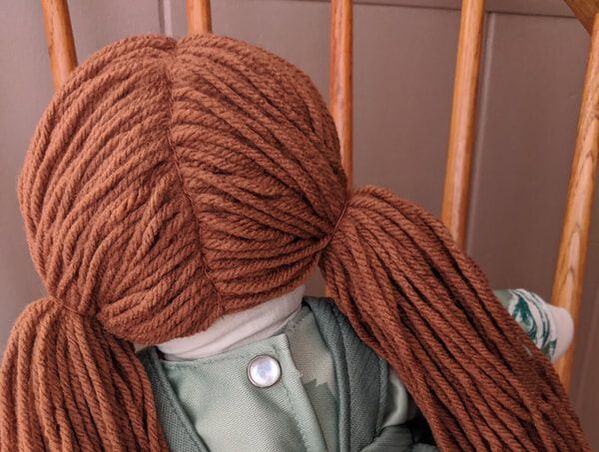
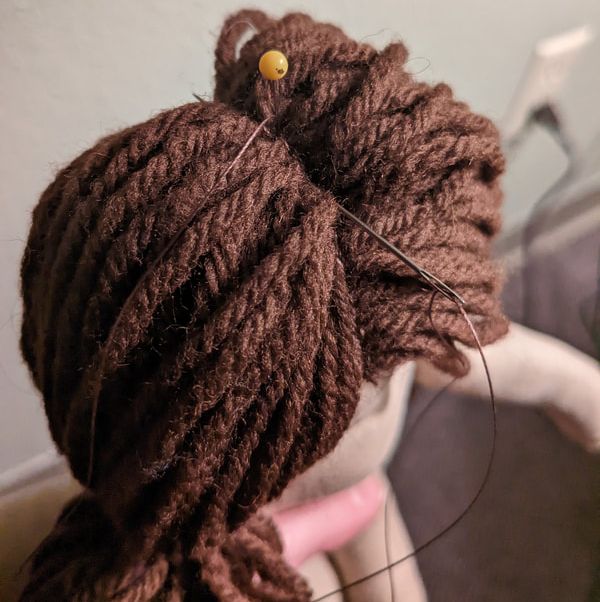
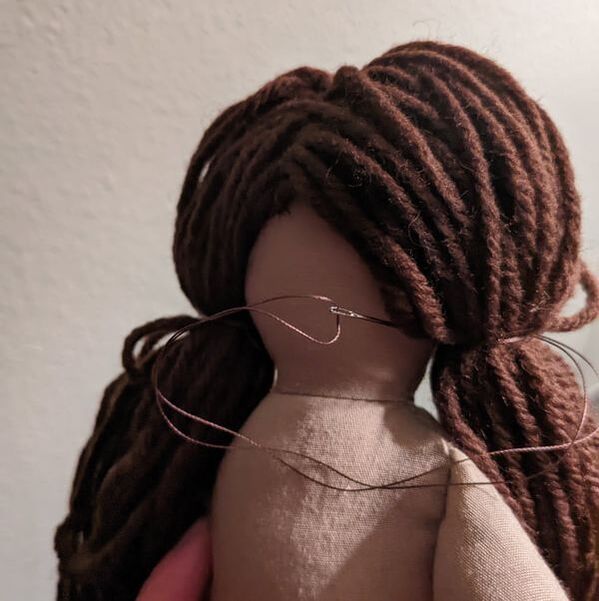
finishing touchesSometimes the yarn gets uneven in this process, so I go through and tug gently on each strand of the pig tails to make sure they are lying against the head at top. Then, all that’s left is to trim the pigtails evenly and your doll has hair!
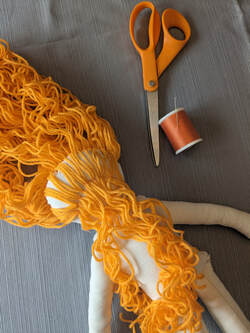
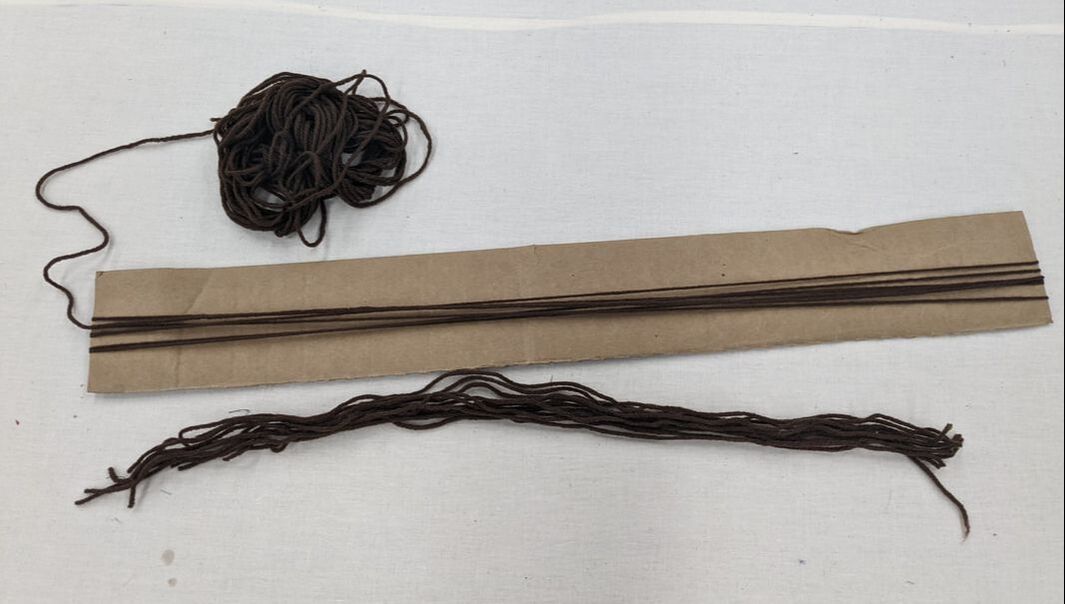
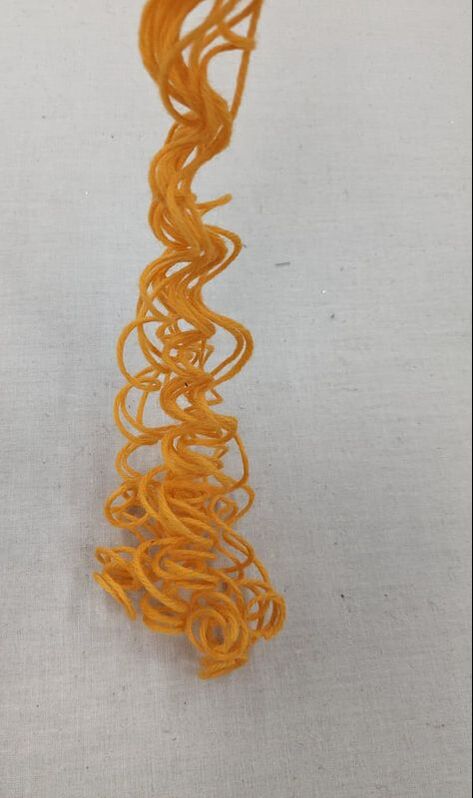
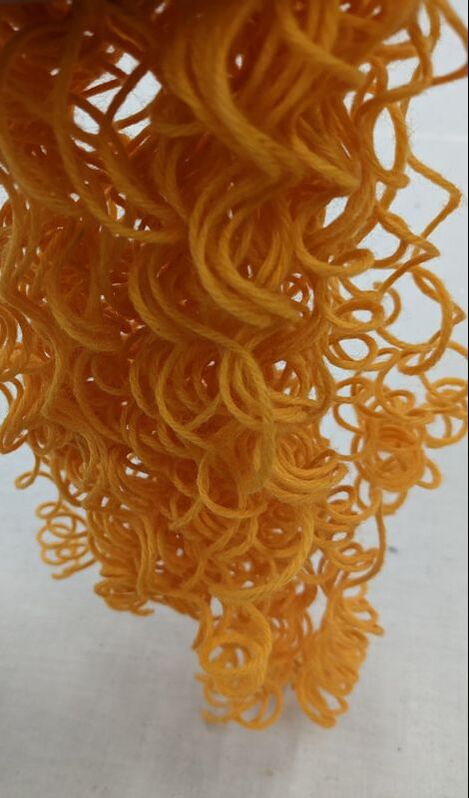
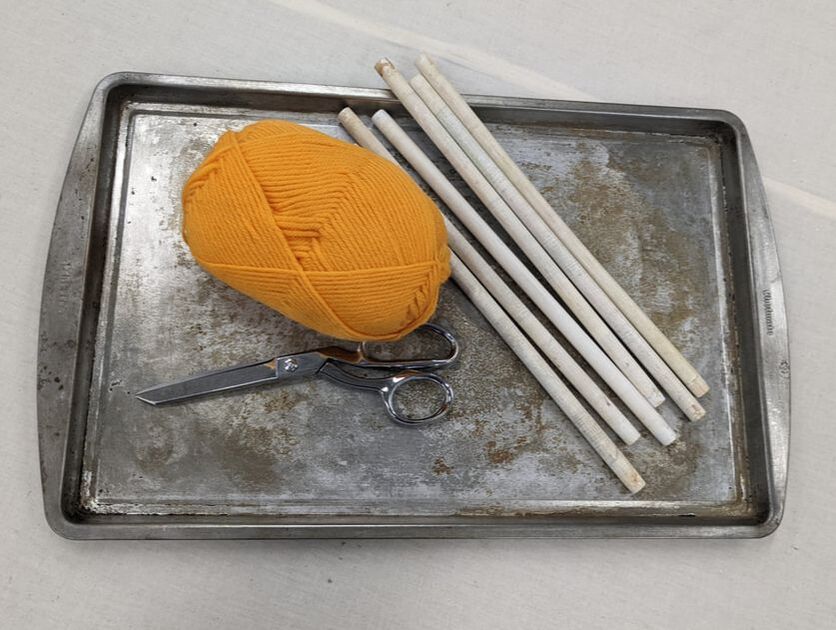
curly hairBeing able to curl yarn for doll hair can equip you to create so many different designs and personalities! Not only can this give you a wider range for representation with your dolls, but it's another tool to use in your designs. Experimenting with hair can certainly help you discover personalities and styles for your dolls. supplies
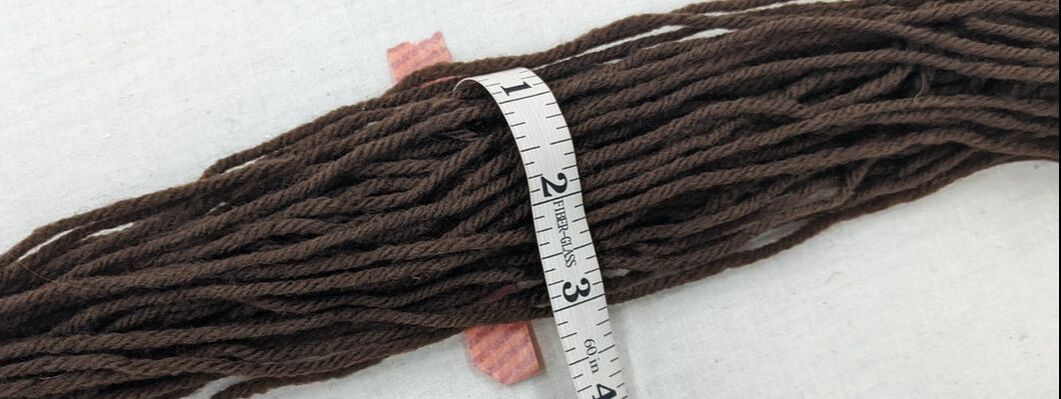
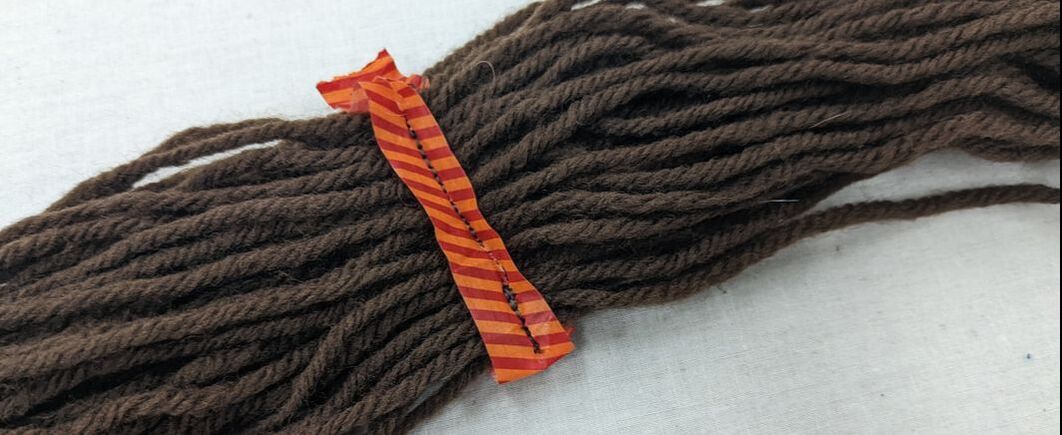
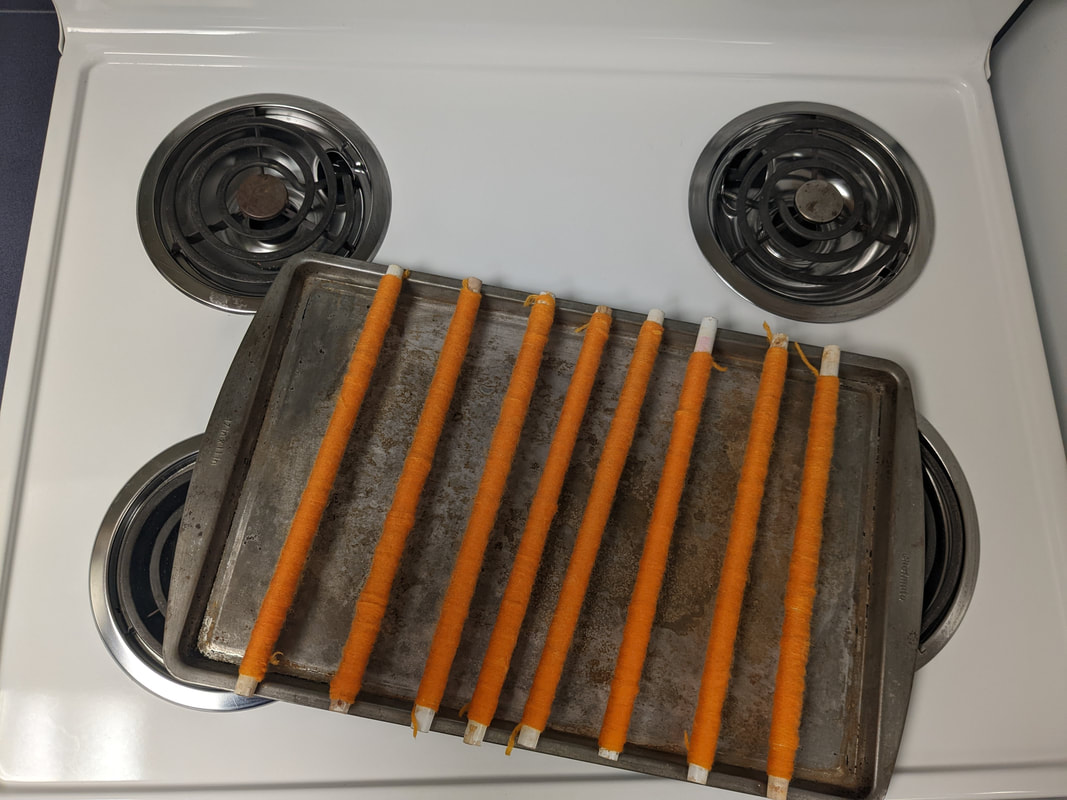
prepping the yarn
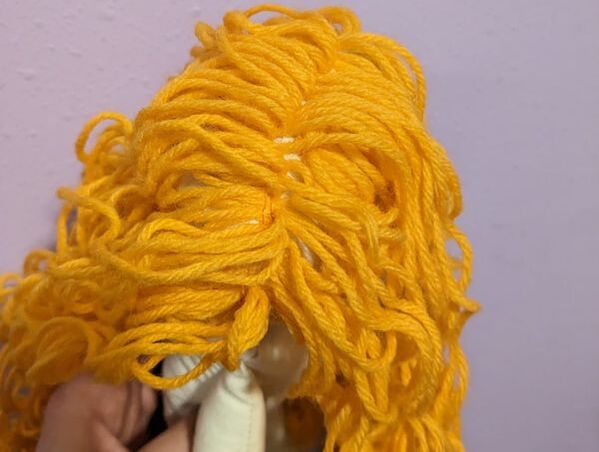
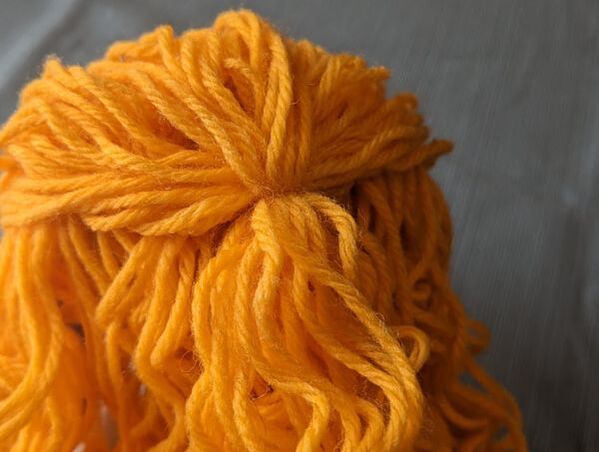
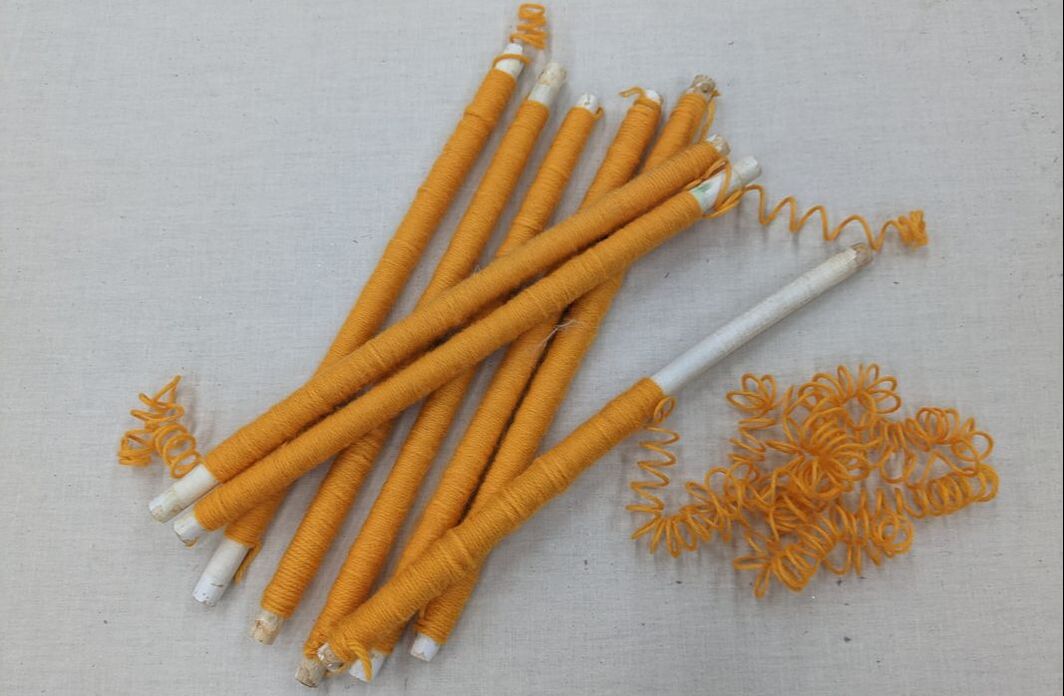
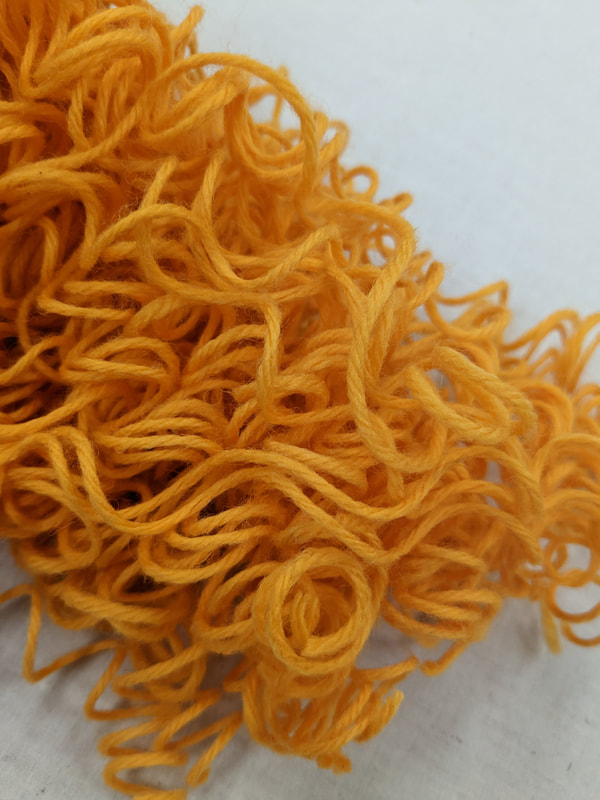
into the ovenPlace the cookie sheet with dowels into the oven and set a timer for 15 minutes. Be sure to stay in the room to check on it. I’ve never had problems, but yarn is not designed to be in the oven and there might be dyes out there that are flammable. Once done, take them out and let them cool and finish drying overnight. unravelingBe sure not to unravel the yarn before it’s completely dry, the curls will not stay. Once dry, untie the ends of yarn and gently unravel and pull them apart.
For instructions on how to attach the hair, check out my early post about it!
* I’ve done this with acrylic and wool yarn with success. Perhaps other types of yarn would work as well, if you try it out please let me know how it goes!
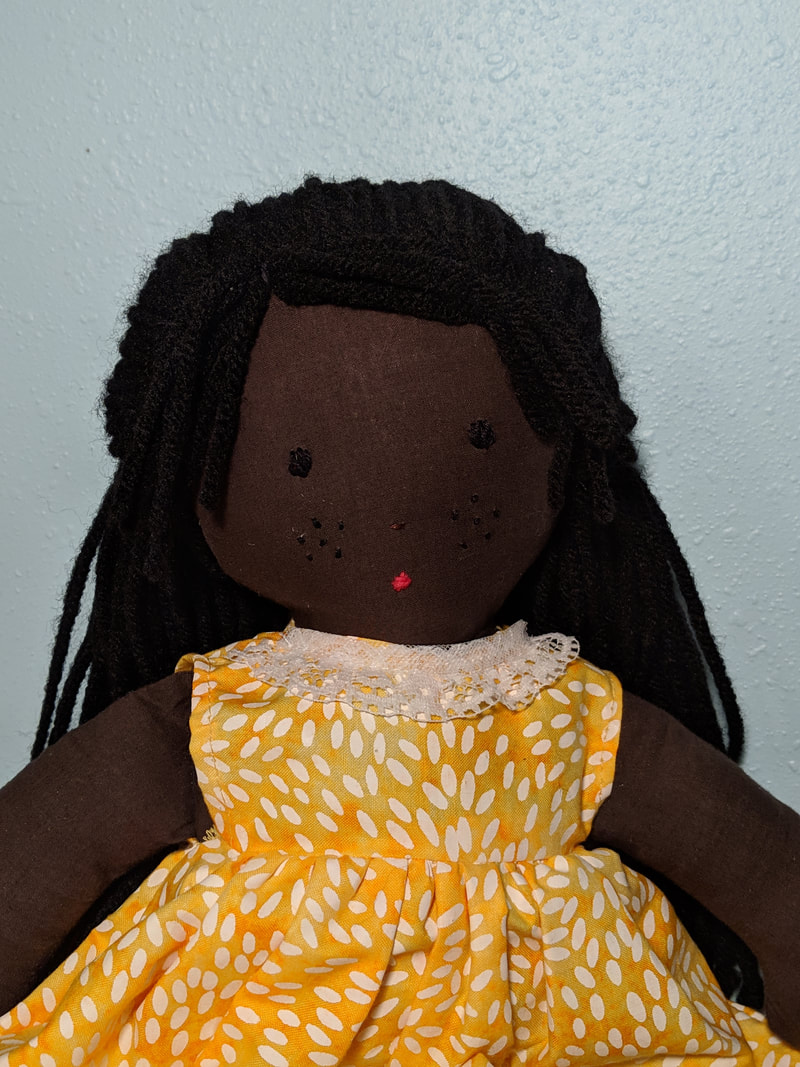
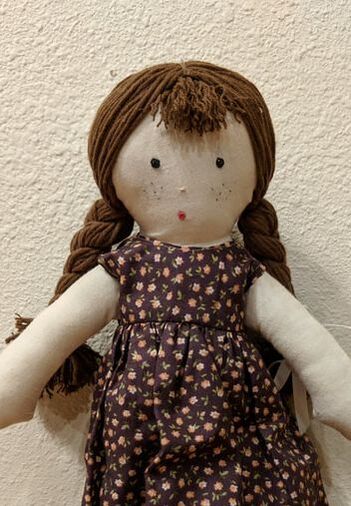
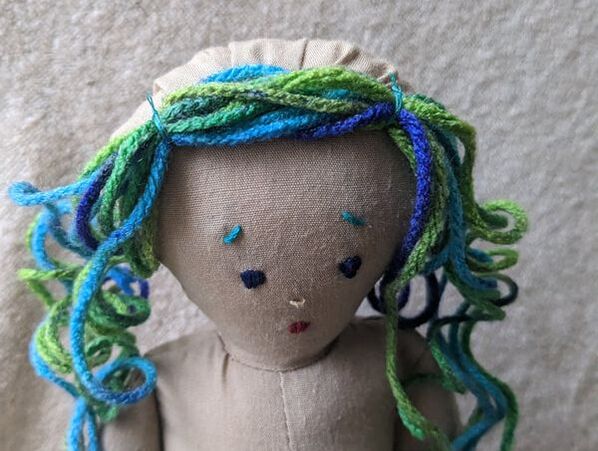
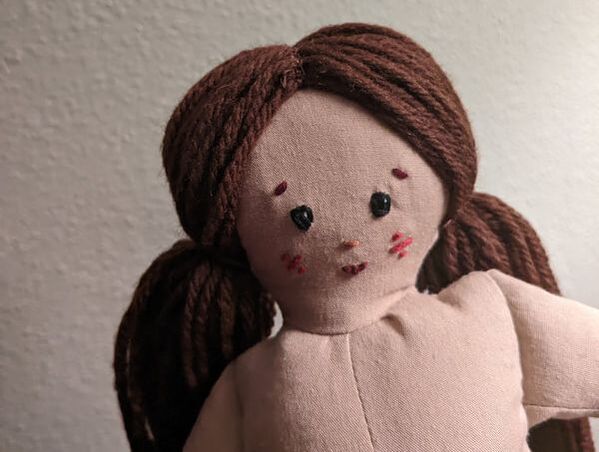
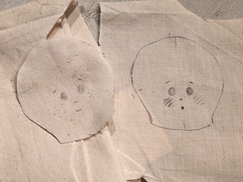
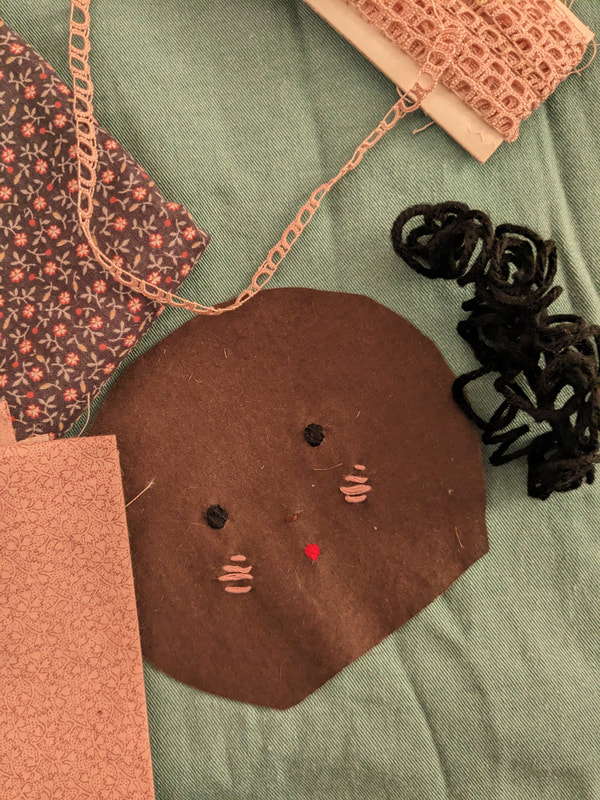
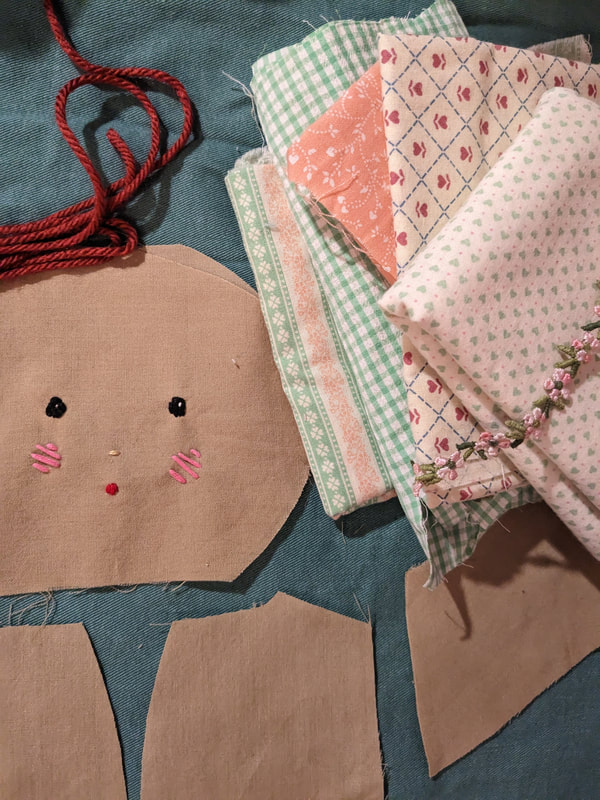
designing the dollA doll’s face creates her personality, and unlike her clothes cannot be switched out, so it’s worth spending a bit of time on to get right. I would encourage you to think of your doll as a whole—face, hair, colors, clothing— before beginning to make it. Designing a personality for it from the beginning will lead to a cohesive and unique end result.
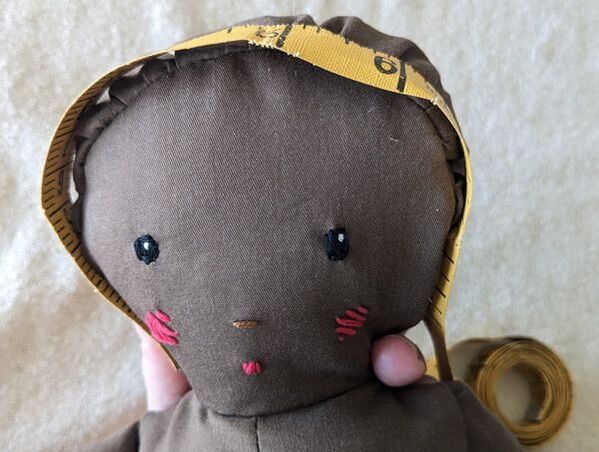
Sometimes doll patterns will not come with the face template, which may seem like too much freedom and end up a scary endeavor. Don’t fret, you can always draw a few attempts or even print off a template you find elsewhere to trace. Once you have your doll face lightly drawn in pencil on your fabric, you are one step closer to creating your doll’s face. Creating the face of your doll can be done using any of a few techniques. Embroidery and paint are the most popular, and will be what I explain today. Know that other techniques, such as buttons, markers or felt exist. Creativity is a gift, so feel free use it and think outside the box for your doll’s face or mix and match the techniques! embroideryEmbroidery is my go-to for doll faces. It’s secure and durable, and I like the old fashion charm it brings to a doll.
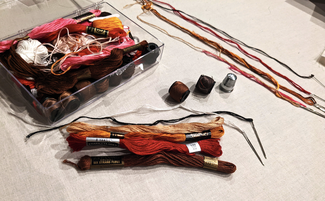
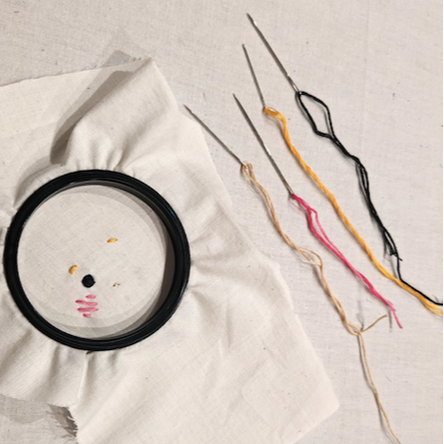
Any craft store will have pretty much any color of embroidery floss you can imagine, as well as the embroidery hoop, which is useful to keep the fabric taught for easier stitching, although not essential. A thimble might also be nice, especially if your fabric is a bit tougher and will require more pressure to get the needle through. Once you’ve picked your colors, thread a needle and have at it! Fill in your tracing with even stitches. Try to keep your stitch length and direction the same, for a cohesive looking face. If you don’t have experience with hand sewing, do a quick search on Pinterest, many great tutorials are waiting to teach you!
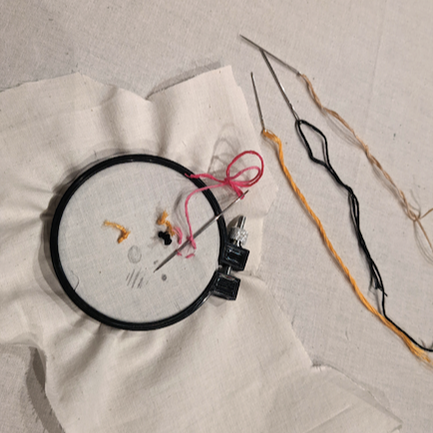
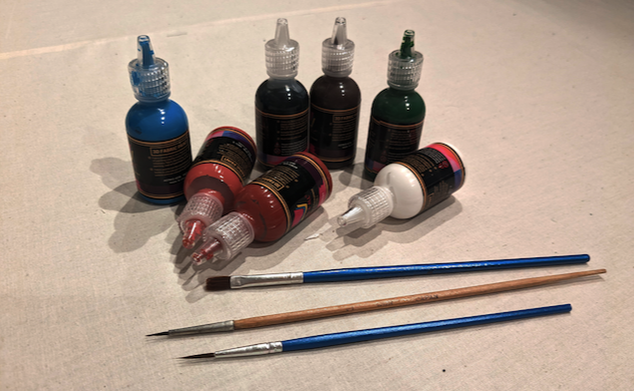
It is important to note that this doll face technique must be done before sewing the doll body together. You need to be able to get at both sides of your fabric and tie off your thread neatly on the back side. I often embroider the face before I even cut the face piece out, just to give myself room to stretch the fabric in a hoop neatly. Simply trace your face pattern and template, embroider it, and cut it out once completed. A fun tip when using embroidery floss is to repeat it throughout the outfit you create for your doll. You can use the floss from the freckles or mouth to embellish pockets, or add little details. paintingPainting your doll’s face is the next obvious way to create it. This technique can be helpful because it is possible to do after the doll body has already been sewn together. (However, I do recommend doing it before). Paint does seem a bit more fragile to me though. Even with fabric paints I tend to worry it might chip if tossed and grabbed by a particularly rambunctious kiddo.
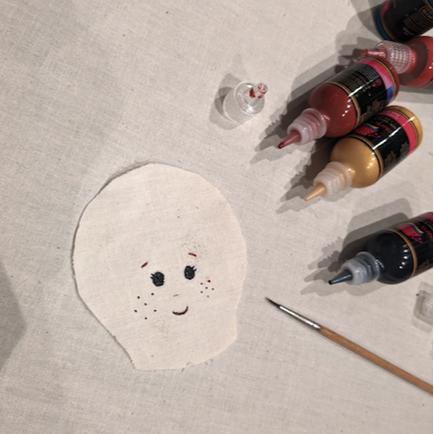
Painting your doll’s face can be as intricately detailed or simple as you desire. Just be patient, and use only a little paint on your brush to avoid drips. Go in with a steady hand, and come back for multiple layers if needed. Be sure to rinse your brush and dab it clean when switching between colors.
Whatever method you choose, embrace the fun of creating something beautiful! What a joy to get to think up a design and work towards making it come to life.
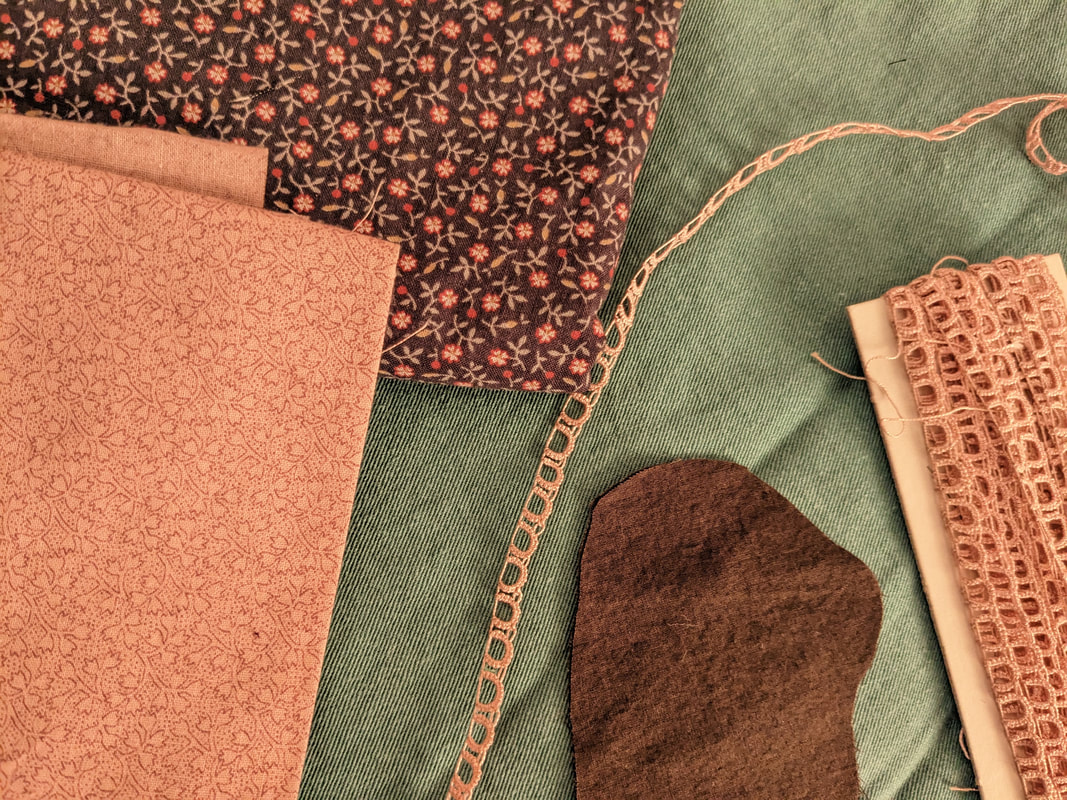
Until next time! So you’re planning on making a doll outfit, you’ve got the pattern, and you’re set, right? As soon as you pick up your scissors you’ll probably realize a little more thought needs to go into it. You are going to have to use your creativity to decide on colors, prints, weights, trims, closures and styles of your doll outfit. These elements leave room for a lot of creativity, and when you use them intentionally your end result can truly be a work of art. Read on for my tips on doll design!
know your doll
Some examples:
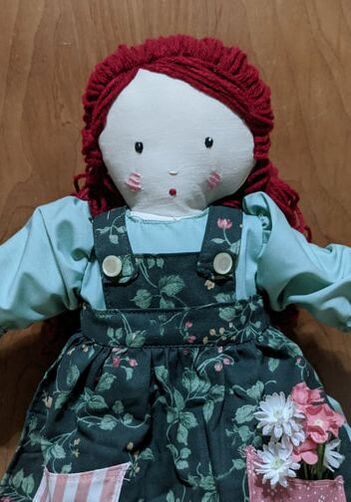
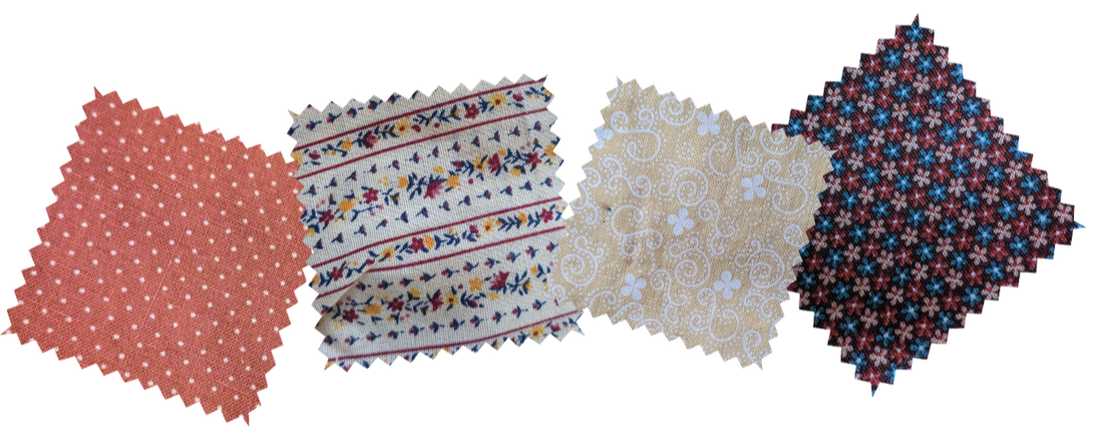
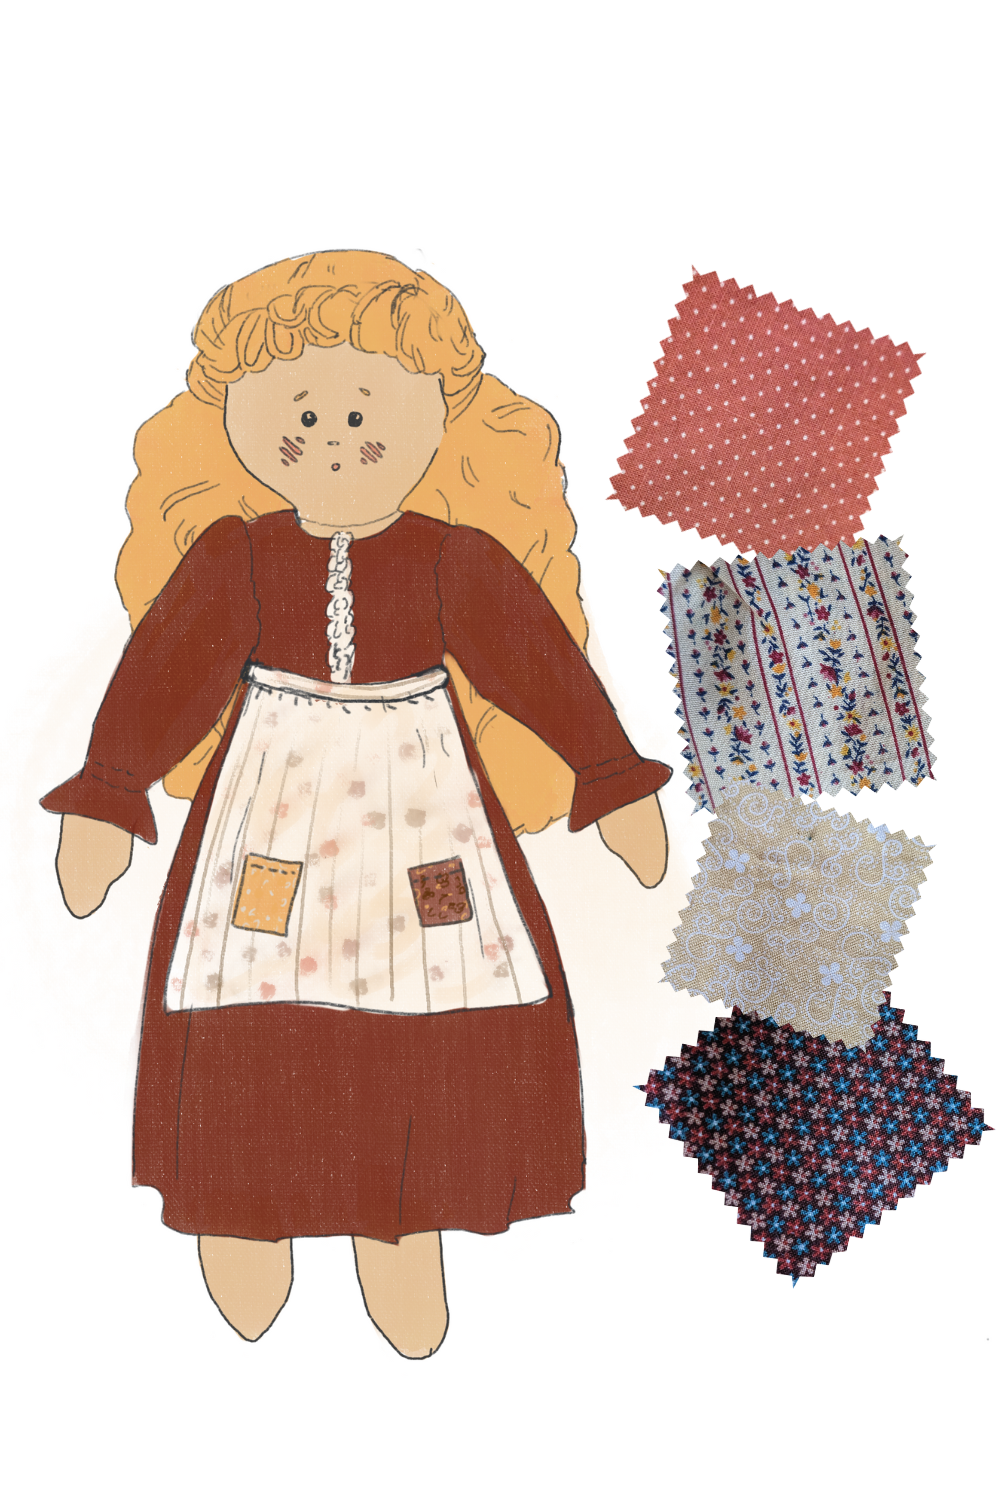
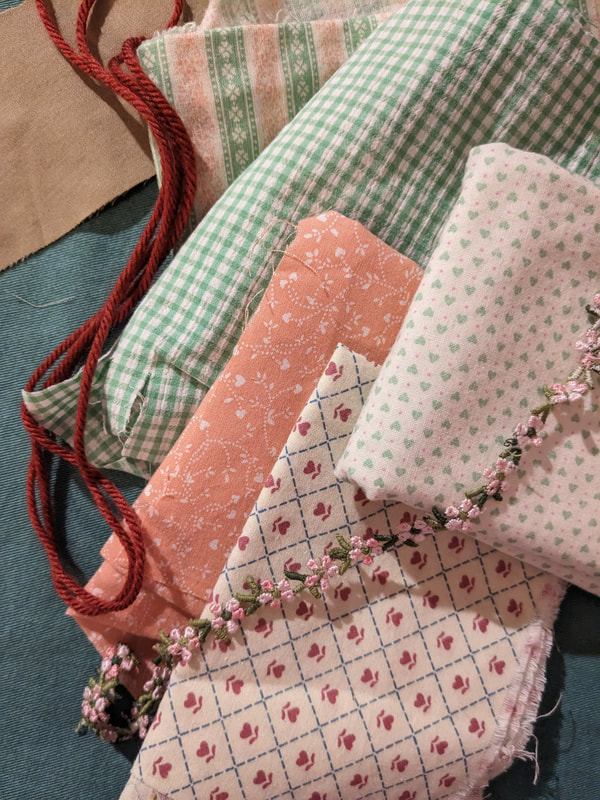
pick your patternBefore you make too many decisions about fabrics and embellishments, I recommend picking the pattern out for the outfit first. If you’re an experienced sewer making your own patterns as you go, draw a quick sketch of what you are envisioning. Obviously, your pattern choice will depend on the style of doll you’re looking for: historic prairie doll, fantasy, princess, or modern to name a few options. The choice is all yours!
Also gather your trims and buttons/closures in this step. Does lace fit this outfit, or would ric-rac be better? Should the buttons be the main color, or an accent color to stand out? There is so much creative freedom here, so lean into it! I enjoy finding several prints and trims/buttons that look nice together before selecting my favorite combination. If you’re having difficulty slimming it down, you can get creative to add more fabrics by adding extra pockets, or maybe making a second apron or dress that matches the outfit and can be switched out for another look! keep discoveringNow you get to create, and watch your adorable creation come into being. My biggest tip in this step: be open to new things. Maybe you’ve already planned every stitch and button placement, but as you're attaching everything, stay curious. Play around with where the lace lies, or the color of the buttons. Maybe you’ll keep everything as planned, but maybe you’ll discover a red button will make your dolls lips pop, or that lace around the sleeves is a bit much for your doll’s personality and it should only go on the hem. Whatever it is, practice your eye for design as you put things together and keep discovering.
|
Need a doll pattern? Check out this one!
Latest pattern: doll apron and pattern
more tutorials... |


 RSS Feed
